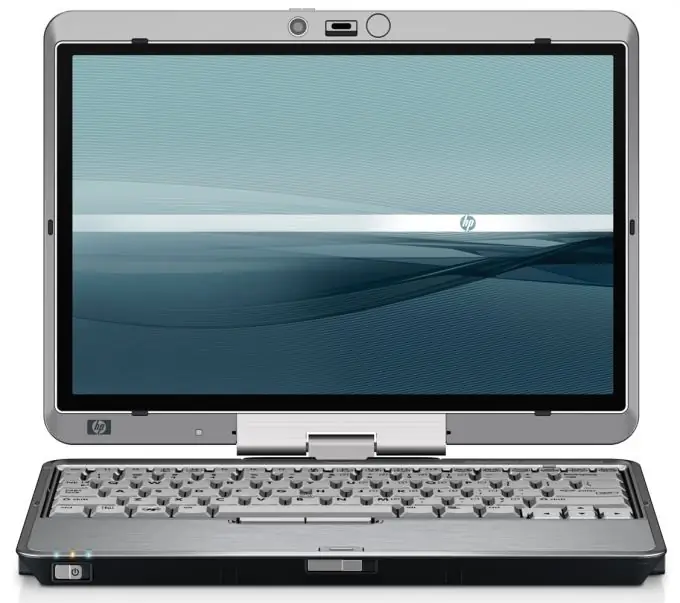
Connecting a built-in webcam on a laptop is as easy as connecting a regular webcam to a regular desktop computer. So, we connect the webcam on the laptop.

Instructions
Step 1
Take out the installation disc that came with the laptop, install the driver for the webcam from this disc. In some cases, it can be installed separately, and in some cases - in the general package of necessary drivers for the corresponding laptop model. If you do not have such a disk, then search and download the driver on the Internet. To do this, enter the address of any search engine in the address bar of the browser and enter in the input field a request containing the phrase: download the driver (and indicate the full model of your laptop).
Step 2
Open the "Start" menu and click on "Control Panel" - the Control Panel window will open. Switch the way of displaying the tools to the classic view, find the line "Install equipment" in the list and double-click on it with the left mouse button.
Step 3
Here is the Welcome to the Add New Hardware Wizard, click on "Next" at the bottom of this window. The system will search for new equipment connected to your laptop, and also ask you whether the device is currently connected to the computer or not. Answer “Yes, the device is already connected” and then click on “Next”.
Step 4
So, you see a list of devices (drivers and controllers) available in your laptop. Scroll down this list to the end, the last line will be: "Add a new device". Select this item and click on "Next".
Step 5
The wizard will ask you a question whether to install the driver automatically or manually. Since you do not have the original driver disk, and the driver itself is located in one of the directories on the local disk, select manual installation.
Step 6
In the list that appears, select "Sound, video and game controllers", then click on "Next". Now on the left side of the window, select the item "Standard system devices", and then on the right - "Video recorders (without PnP)" and click on "Have disk …". In the subsequent dialog box, click on "Browse" and point the system to the location of the driver. Then click on "OK" and on "Next". After the system completes the driver installation, close the wizard window by clicking "Finish".


