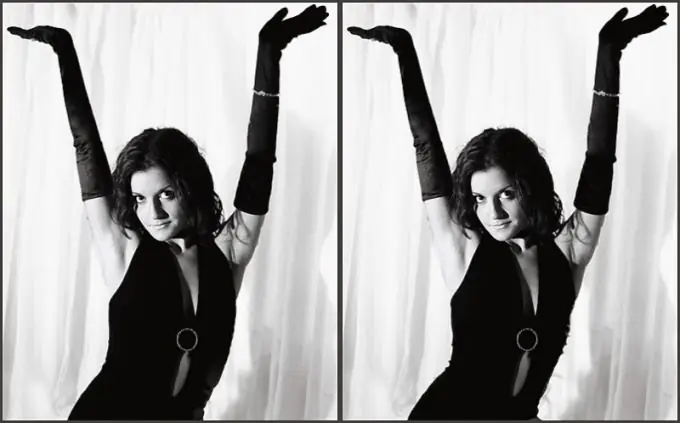
In order to have the perfect figure in the photo, you do not need to exhaust yourself with diets or exercising in gyms! It is enough just to perform a few actions in the Adobe Photoshop program. And if you do everything carefully, then even the most skilled craftsmen will not be able to detect your little deception.

It is necessary
Adobe Photoshop program. This article uses version CS3
Instructions
Step 1
First of all, it should be borne in mind that if you are not very well versed in Adobe Photoshop, then you will be able to successfully make only small changes to the appearance of a person in a photograph without losing realism. When you first get to know the program, you do not need to immediately try to turn a fat person into a perfectly slim or thin person. Start with minimal body adjustments.
Step 2
Open the photo you want to edit. In order to shrink your waist, you need a Liquify filter. You can find it in the "Filter" menu or call it with a combination of "hot" keys - Shift + Ctrl + X.
Step 3
In the window that opens, you will see a list of tools on the left and settings sliders on the right. To reduce the waist, you only need Warp (hot key W) and Wrinkle (hot key S).
Step 4
With the help of the "Warp" tool, you can gradually change the shape of an object, smoothly moving the selection in the desired direction, without violating the integrity of the image. You need to use it in the same way as with a brush: choose a diameter and start "painting".
Step 5
The Wrinkle tool also has a brush diameter as an option, but it works differently. Within the area covered by the brush, this tool pulls the image towards the center along the entire circle, as if blowing it away.
Step 6
First, using the Warp tool, you need to create the desired shape outline, outline the waist. Choose a suitable brush diameter and gradually pull the waist from the edges of the silhouette towards the center.
Step 7
You will need the Wrinkle tool to make the folds of your clothes around the waist more realistic after you distort them.
Step 8
You may be able to get by with just one of the tools when editing a photo. Experiment with the size and settings of the brush for the best results.
Step 9
Do not forget about the peculiarities of the human anatomy. Don't make your waist too tight or create unnaturally sharp or concave corners in your silhouette.
Step 10
Using the tools of the Plastic filter inevitably distorts the surrounding space. Deformation can be reduced by freezing part of the image with the appropriate tool. Also, after applying the filter, you can separately do the restoration of the realism of the background located behind the person.


