When creating collages and processing images in Adobe Photoshop, you may need to reduce the size of a fragment without changing the main picture. This problem can be solved in several ways. One of them is applying a free transform to the desired element.

Instructions
Step 1
Open the image and duplicate it. It is advisable to make all changes on a new layer so that the finished drawing does not suffer. The most convenient way to copy to a new layer is to use the Ctrl + J keyboard shortcut.
Step 2
Now you need to select the shape that you will be reducing. This can be done in different ways. If the background around the desired element is fairly uniform in color, use the Magic Wand Tool.
Step 3
Set the Tolerance parameter so that the selection coincides with the outline of the shape. The parameter value can be changed depending on the color shade. To merge the selection into a whole, click the Add to selection button on the property bar.
Step 4
From the Select menu, choose Inverse or Ctrl + Shift + I. Now you have the shape selected, not the background. Copy it to a new layer.
Step 5
Press Ctrl + T or from the Edit menu select the Free Transform option. A rectangular frame will appear around the fragment. If you want to reduce the shape proportionally, hold down Shift, move the cursor to the corner control knot, hook it with the mouse and move it to the center of the selection. Now you can see both layers - the main image and a small copy of the main element.
Step 6
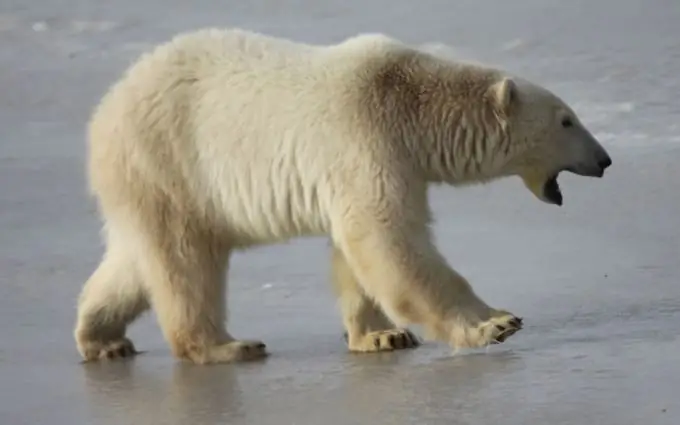
You need to transfer the background to a layer with a reduced copy. Select the Stamp Tool from the toolbar. On the property bar, set the brush parameters - diameter and hardness. You will have to change these values during processing. If the main element is fluffy, as in this example, then the stiffness needs to be reduced. The size of the brush will depend on the size of the workpiece.
Step 7
Activate the layer with the main image, hold down alt="Image" on the keyboard and click on the background next to the fragment that you copied to the new layer. The distance to this element will depend on the size of the brush and the properties of the fragment itself. The cursor took the form of a telescopic sight - a cross, encircled by a circle, i.e. the instrument takes a color swatch and considers it a reference.
Step 8
Return to the layer with the copy of the fragment, move the cursor close to the outline of the shape and begin to carefully outline it. A copy of the background from the main image, which is under the cross, appears around the copy of the fragment.
Step 9
Be careful, make sure that the cross does not run over the fragment that you copied. Change the hardness and diameter of the brush as needed and take a new color swatch on the layer with the main image. Most importantly, do not forget that you take the sample on the layer with the main image, and restore the background on the layer with the copy of the fragment.
Step 10
An unsuccessful step can be undone by pressing Ctrl + Alt + Z. To make it easier to understand where to get the background sample, temporarily turn off the visibility of the top layer by clicking on the eye icon next to it.


