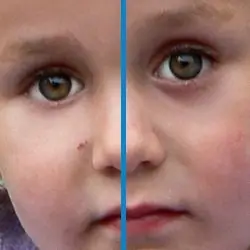
Cameras have already become an integral part of our life. Nowadays, few people can imagine a vacation trip without it. But sometimes situations happen that in a beautiful picture you have a bruise, a scratch, or bags under your eyes. And for the future, of course, I would like to keep a perfect photo.

Instructions
Step 1
First, let's define a photo and open it in Photoshop. File - Open
Step 2
There are several tools for performing certain actions in Photoshop. For this operation, two of them are suitable: the Healing Brush tool and the Clone Stamp tool. The Healing Brush is more suitable for treating wrinkles and bags under the eyes. We need to replace the color of the bruise with the color of the skin, for this operation the Clone Stamp tool is more suitable.
Step 3
Let's adjust the scale of the picture so that it is convenient for us to work with bruises. To do this, hold down the alt="Image" button and turn the mouse wheel. Next, let's set up the cursor. Right-click, and in the menu that appears, select the desired diameter and stiffness.
Step 4
After setting, hold down the ALT key (the cursor takes the form of a crosshair) and click on the picture near the bruise. It is this place that will be copied and replaced with the color of the bruise.
Step 5
Let's start covering up the bruise. If you do it slowly and carefully, then you can almost perfectly remove the bruise and choose the brightness, color and shade of this place.
Step 6
If you practice, then very soon you will be able to do this operation like a professional Photoshop. And you will understand that removing bruises in Photoshop is a snap. Good luck in your endeavors!


