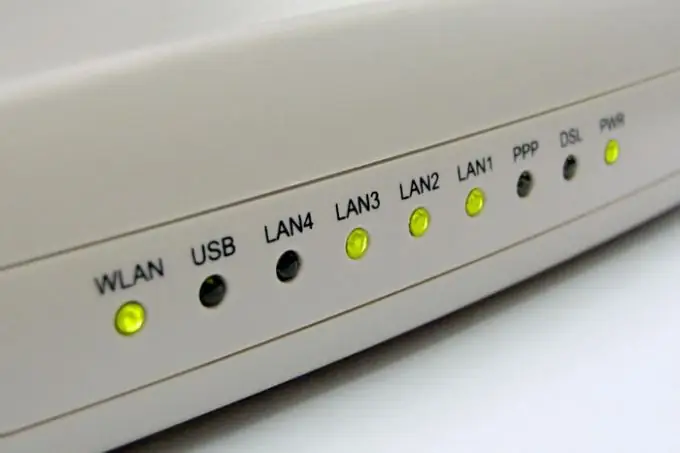
To provide access to the Internet for two or more computers, it is necessary to connect them into a network. The best solution to this problem is to purchase a network hub (hub). It allows you to combine several computers into a network and evenly distribute Internet traffic among all users of this network. After purchasing a network hub, all that remains is to configure the network and use all the capabilities of the local network.

It is necessary
Modem, network hub, twisted pair cable, network card
Instructions
Step 1
Before installing and configuring the network, all devices must be connected to each other. Connect the modem to the hub, and the hub will connect to the network cards of the computers. Accordingly, the modem must be connected to the Internet. Now you can start setting up a local network, which provides free access to any computer to the Internet.
Step 2
Click the "Start" button, select "Control Panel". In the window that opens, select the "System" shortcut. Double click on the shortcut to bring up the "System Properties" window.
Step 3
In the window that opens, go to the "Computer name" tab. In the Description field, enter the name of the computer on the network. In the future, this name will be displayed in the name of your computer. Then click the "Change" button.
Step 4
In the "Change computer name" window, go to the "Member" section, check the box next to the "workgroup" item and enter the name of the group that will be the network identifier. For each computer, its name must be different from the neighboring computer, but the name of the workgroup must be the same for the entire network. Reboot both computers.
Step 5
Click the Start menu, select Connections, then Show All Connections. In the new window, select your network, which by default will be called Local Area Connection. Right click on the local network, click the "Properties" button.
Step 6
In the new window "Properties: Local Area Connection" select "Internet Protocol (TCP / IP)". Right click on this item, click Properties. In the window that opens, activate the "Use the following IP address" option. Enter the value of the IP address: 192.168.0.1 on one computer and 192.168.0.2 on the second. Each subsequent computer is assigned an IP address, increasing by one. The main condition for the correct operation of the network is mismatched IP addresses.


