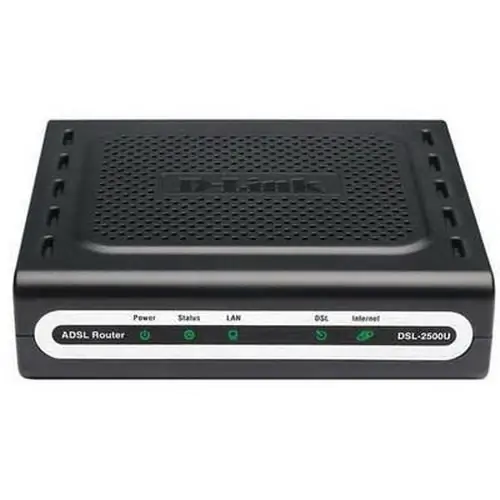
ADSL modem can be connected as router or bridge. If as a bridge, then the operating system takes over all the functions of organizing a PPPoE connection (Windows OS has the necessary drivers from the WinXP version. For Windows earlier versions of the driver, you need to install it separately). If it is a router, then a modem. This article will talk about connecting a modem in router mode.

It is necessary
Computer running Windows operating system, adsl modem
Instructions
Step 1
You need to enter the modem settings. Since the network interface card has the "Automatically obtain an IP address" property, the computer must be configured for the modem network.
Step 2
Configure the network card first. To do this, open "Network Connections" and click "Open" in the context menu. In the folder containing all network connections, there is a "Local Area Connection" item. Its state should be "Connected". In the context menu, select "Properties".
Step 3
In the list, select "Internet Protocol TCP / IP", and then call "Properties". In the field "Use the following IP-address" you need to register: IP-address - 192.168.1.2; Subnet mask - 255.255.255.0; The main gateway is 192.168.1.1. Now you need to select "Use the following DNS server addresses" and enter 192.168.1.1. Further, in all open windows, you must click "OK". The network card is now fully configured.
Step 4
Then you can start configuring the modem. It is necessary to enter the modem settings. In the "Advanced Setup" tab, select "WAN", click on the "Add" button to create a new connection. It is necessary to uncheck "auto-connect". Next, fill in the VPI and VCI (1 and 32).
Step 5
Now select "PPP over Ethernet (PPPoE)" and then click "NEXT". Next, you need to fill in the fields "PPP Username", "PPP Password" - they indicate the login and password that were issued by the provider. "Authentication Method" should be set to "PAP", and you must also check the boxes "Enable Firewall", "Enable NAT", and then click "Next".
Step 6
On the next page, you need to leave everything as default. When the "Save" button is clicked, you will find yourself on the page where you will see the created connection. Now you need to click "Save / Reboot" for the parameters to take effect and the device to reboot.


