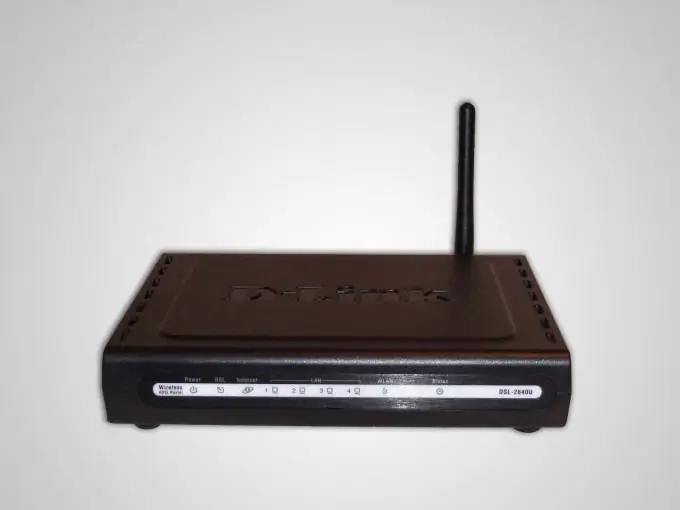
NAT technology allows communication between multiple computers on a local network and the Internet using a single external IP address. If you are setting up a router, then it is better to enable this function.

It is necessary
Wi-Fi router
Instructions
Step 1
Most modern routers, including devices that support Wi-Fi, are capable of using NAT technology. If this is very important for you, then check the availability of this function before purchasing a Wi-Fi router. Get the right equipment.
Step 2
Connect the device to the AC power and connect it to the network card of the computer using the Ethernet (LAN) connector for this purpose. Turn on your computer and launch your internet browser. Read the instructions for your router. Find in it the initial IP address of the device, as well as the login and password that must be entered to gain access to the device.
Step 3
Fill in the browser url input field with the router's Wi-Fi IP address. Press the Enter key. In the menu that opens, fill in the Login and Password fields and press the Enter key. Now open the WAN or Internet Connection Setup menu to configure your Internet connection.
Step 4
Select the data transfer protocol, set a dynamic IP address for the router, enter the username and password given to you by your ISP. Be sure to enable DHCP, Firewall and NAT by checking the boxes next to them. Click the Save button.
Step 5
Go to the Wi-Fi or Wireless Connection Setup menu. Create your own Wi-Fi hotspot. Choose one of the appropriate security types (WPA or WPA2-PSK is recommended) and set a password. In the event that you need to limit the data transfer rate over the Wi-Fi channel, specify the maximum bar. Click the Save button.
Step 6
Reboot your router. If this cannot be done programmatically, simply disconnect the equipment from the mains. Connect to the created access point. Connect stationary computers to the Ethernet (LAN) connectors of the router.


