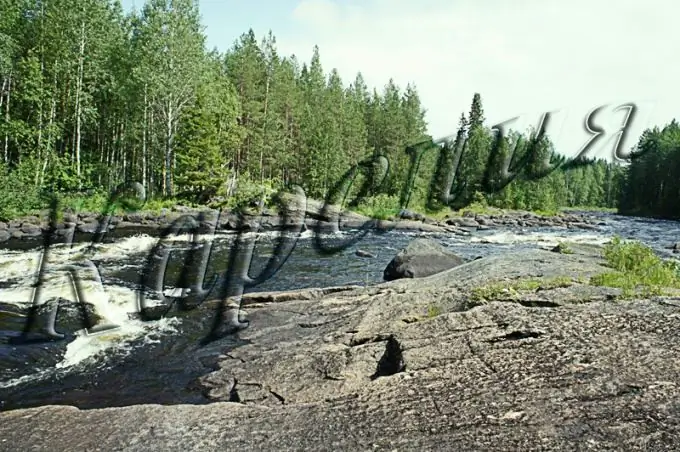
Caption can turn a drawing into a greeting card or add warm, trusting intonations to any photo. Adobe Photoshop tools let you choose label styles, size, and other effects.

Instructions
Step 1
Open the snapshot. You can add a vertical (top to bottom) or horizontal (left to right) caption to an image. Depending on this, select the Vertical Type Tool or the Horizontal Type Tool (tool in the form of the letter T) from the toolbar.
Step 2
On the property bar, define the font type in the Set the font family box, type (normal, bold, italic), size and anti-aliasing. Click on the Set the font color box and select the desired shade from the color bar. Type text on the keyboard.
Step 3
You can resize the lettering by applying a free transform to the letter layer. Use the combination Ctrl + T. Move the cursor over one of the selection nodes and move the mouse until the desired result. To move the inscription, select the Move Tool on the toolbar and move the text in any direction.
Step 4
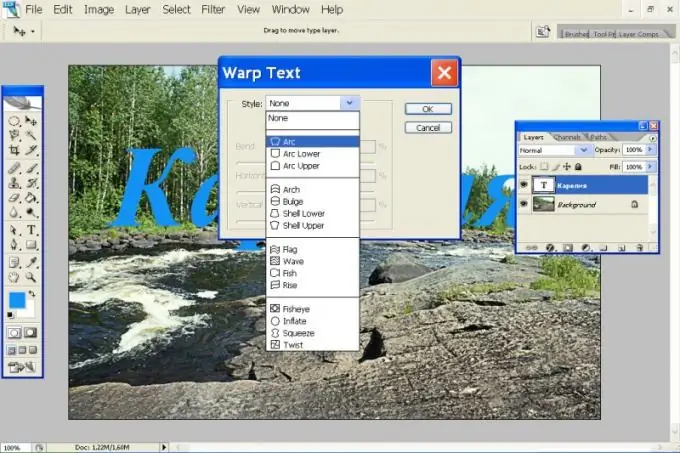
Select the T tool again and on the Properties bar click Create warped text. Expand the Style list and select the appropriate type for the lettering. By changing the position of the "Horizontal Distortion" and "Vertical Distortion" sliders, you can change the degree of distortion of the caption.

Step 5
You can change the size and type of the font using the Toggle the Character and Paragraph palettes button. By changing the parameters in the Characters tab, you can choose the size and type of the font, the distance between letters and lines, distort letters horizontally and vertically, and select a font in a different language.
Step 6
Right-click on the text and select Rasterize Type from the drop-down menu. After that you can apply all the layer operations to the letters. Double click on the layer thumbnail and go to the style menu. To give the letters volume, use the Bevel and Emboss option. Use the Depth, Size and Soften sliders to achieve the desired effect.


