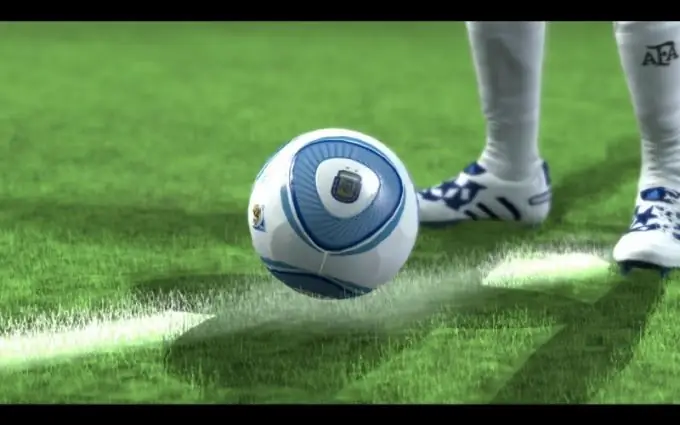
Among soccer simulators, there are two of the biggest competing brands: FIFA and Pro Evolution Soccer. The games differ from each other as much as football projects can differ: the control scheme, career mode, player behavior, and even the installation of additional balls have their own characteristics that must be taken into account.

Instructions
Step 1
To install a modification on PES, download the Kitsaver program for the corresponding version of the game (it is marked with two digits corresponding to the year). Install the product itself on the desktop, and copy the kitsaver folder to the game directory.
Step 2
Download the extra ball and move the #.img folder (where # is the name of the ball) to the kitsaver -> Example -> root -> img folder. If the directory of the same name already exists, then copy only the.bin files of the downloaded add-on into it.
Step 3
Run manager.exe from the kitsaver directory and click Attach - this will connect the program files to the game. Launch PES: your downloaded ball will appear among other ball selection options.
Step 4
To install balls in FIFA, download and install the FIFA # Texture Editor. # - year of release corresponding to the name of the product.
Step 5
Using a texture editor, open the.big file located in the game folder.
Step 6
Use the built-in search to find the texture of the ball by entering the query ball, and select the variation that best suits your replacement. Remember the name of the texture.
Step 7
Please activate the.big file. This means that the contents of the zipped file are "extracted" into the game directory.
Step 8
While still in the texture editor, select the File -> Open menu item and navigate to the Game / Data / sceneassets / ball directory. There, find the texture, the name of which you remembered earlier and open it.
Step 9
Select the Import texture menu item and locate the ball texture file, previously downloaded and unpacked to any folder. This will replace the current type of shell with a new one, while the old one will be permanently deleted.
Step 10
If you want to avoid the hassle of installing add-ons, download the "auto-install" balls that can be found on any fan forum. The obvious disadvantage of this method is that you do not control the replacement process, and therefore you can accidentally delete one of the previously installed balls.


