A beautiful photo - how you want to share it with your friends! But here's the problem, the photo is contained in a document written in a text editor Word. The letters, words and sentences that are contained in the document besides the photo are not needed at all. What to do? First, you need to save the photo on your computer, and then use it however you want.

Instructions
Step 1
The first way.
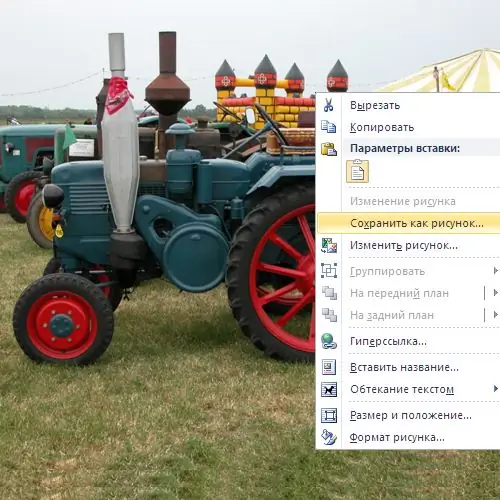
Open the Word document with the photo you want to drag out and right-click on it.
Step 2
A context menu will open. Select "Save as Picture" from the context menu. He is usually the fifth from the top.
Step 3
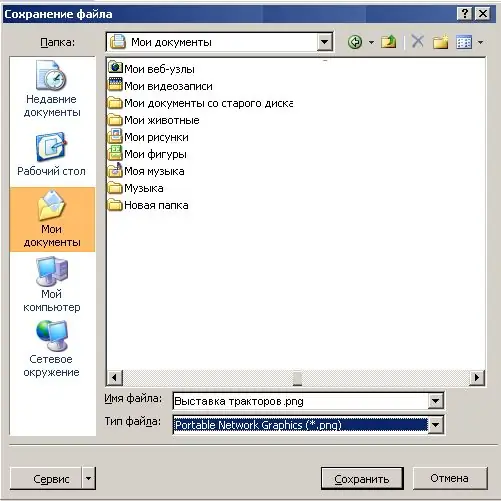
In the "Save file" window that opens, perform the following operations:
- Select the folder where the photo will be saved. For example, "My Documents".
- Specify the file name for the photo. For example, "Exhibition of Tractors".
- Select the file type for the saved photo. For example,.png.
- Click the "Save" button.
Step 4
The photo will be saved in the selected folder with the specified name and file type. In this case, the photo "Exhibition of tractors.png" will be saved in the "My Documents" folder.
Step 5
Second way.
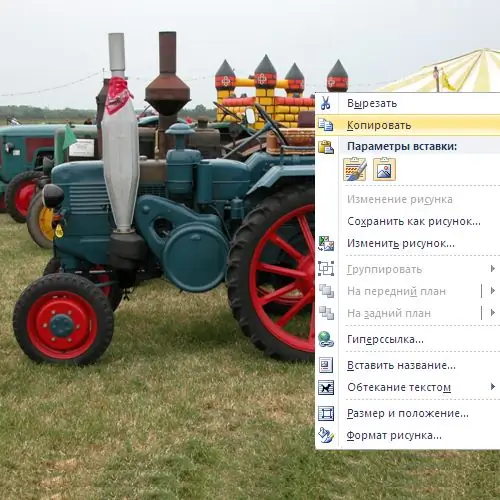
Open the Word document with the photo you want to drag out and right-click on it.
Step 6
In the context menu, select the "Copy" item to save the photo to the clipboard of the computer operating system.
Step 7
Open any graphics editor. For example Paint. In the Windows operating system, the editor is opened by sequential selection of the following menu items of the "Start" button: "All Programs" - "Standard" - "Paint".
Step 8
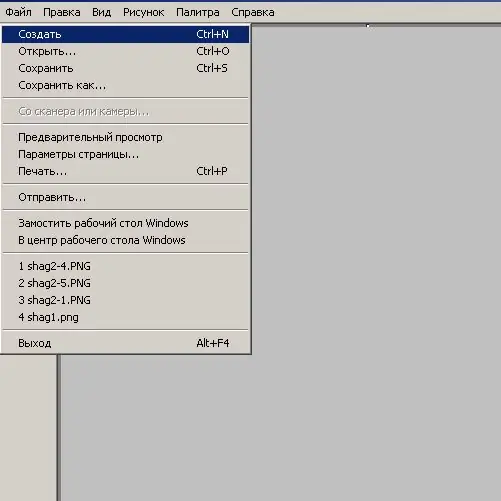
Create a new file in a graphics editor. To do this, select the "File" item and the "New" operation in the main menu of the editor program.
Step 9
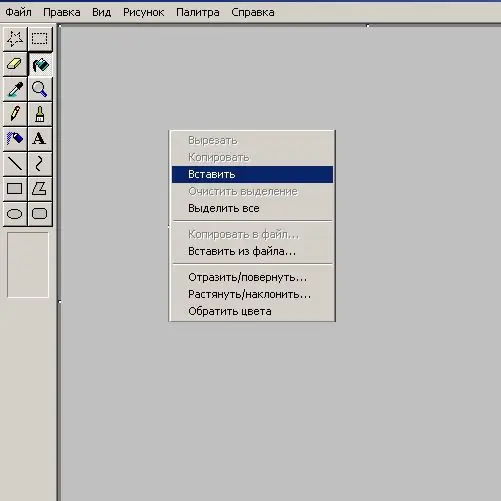
Perform the operation of pasting a photo from the clipboard into the created file: right-click anywhere in the blank field of the file and select "Paste" from the context menu.
Step 10
Save the photo file to your computer. To do this, select the "File" item and the "Save" operation in the main menu of the editor program. When saving the file, specify all the necessary parameters in the same way as in step 3 described in the first method.


