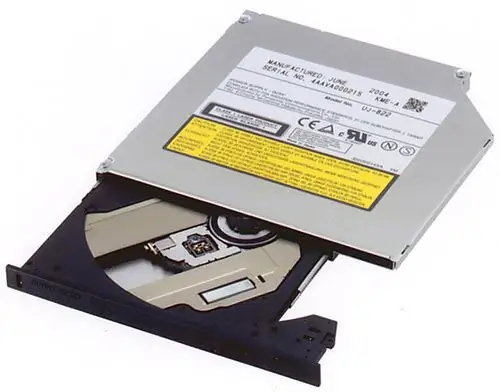
To connect the drive to a computer, you must first disassemble the case of the system unit. Only then will you be able to access the elements that allow you to connect the drive to the computer.

Instructions
Step 1
To start disassembling the system unit, you must first disconnect it from the mains. If the computer is in use, you need to quit running applications and then turn it off using the Start menu interface. After the computer stops working, turn it off by moving the power supply toggle switch to the OFF position (this toggle switch is located on the back of the system unit).
Step 2
You can disconnect all wires from the system unit to make its rear panel accessible. However, you can do without it. In order for you to be able to connect the drive, you need to unscrew both side walls of the system unit. The fixing screws are located on the back of the unit (one wall is held in place by two screws). After you unscrew the screws, remove each wall in turn, pushing it towards the back of the system unit.
Step 3
On the front panel of the system unit, you need to remove the plastic cap, in its place you need to put the drive. After the actuator is in the desired position, fix it from the sides with the screws.
Step 4
Once the drive is secured, you need to connect the power and data cable to it. The ribbon cable comes from the hard drive and has an original connector that matches the connector of the drive, so you won't confuse it with anything. Press the contacts well, then you can assemble the system unit. Remember to return the power supply toggle switch to the ON position when turning on the computer. After booting the system, you will be able to work with the installed drive.


