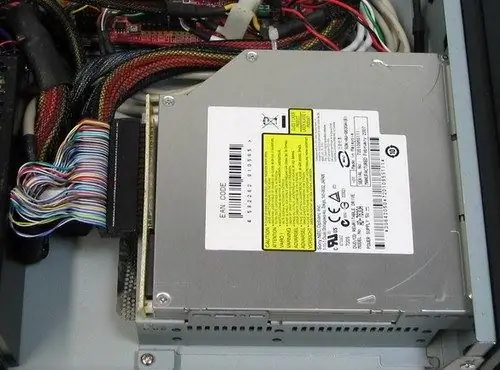
Many users now have both a home PC and a laptop. Each of these computers is used for its own purposes. They not only complement each other in functionality, but some of the laptop components can also be used for a stationary PC. For example, if you have a broken drive on your home PC, you can take a laptop drive and connect it to a stationary computer for a while.

It is necessary
- - A computer;
- - laptop drive.
Instructions
Step 1
Most laptop drives are connected using a standard SATA connector. Accordingly, the motherboard of the stationary computer to which you will connect the drive from the laptop must have this connector. Most modern motherboards have a SATA interface for sure. But if you bought a computer for a long time, then before you start connecting, you need to make sure that it has a SATA interface. This can be done by looking at the technical documentation for the motherboard.
Step 2
If the board does not have such an interface, this does not mean that you will not be able to connect the drive to the computer. You just have to purchase a SATA USB adapter.
Step 3
Remove the cover of the system unit. Locate the SATA interface on the system board. Connect one end of the SATA cable to this interface. The laptop drive is too small to fit into bay 5, 25 on the computer case. Insert it into bay 3, 25. If you are not going to use the drive for a long time, you can simply put it near the computer case. Now connect the other end of the SATA cable to the drive and then connect power to it. To do this, locate the SATA cable on the power supply.
Step 4
If you are using an adapter, plug it into a USB port on your computer. After that, use a SATA cable to connect the drive with the adapter. If the length of the adapter cord is short, you will not be able to insert the drive into the computer case. In this case, you need to put it next to the system unit. Also remember to connect the power. The disadvantage of this method is that you cannot close the lid of the system unit. So be extremely careful.
Step 5
After connecting the drive, start the computer. If you connected the drive using an adapter, then after starting the computer, the system will automatically detect the device and install the system driver. The optical drive is then ready to use.


