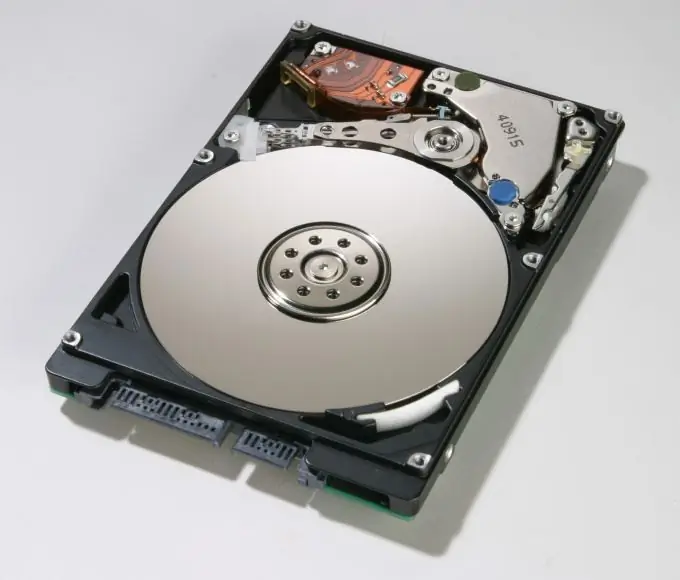
There are several ways to change the current state of a hard disk. Even for a simple merge of several sections into one area, you do not need to use any additional utilities.

Necessary
Partition Manager
Instructions
Step 1
First, try using the standard programs of the Windows operating system. Open the control panel and go to the "System and Security" menu. Select the "Administration" submenu and open it.
Step 2
Open Disk Management. Select one of the hard disk partitions that will participate in the connection process. Click on it with the right mouse button and select "Delete volume".
Step 3
Repeat the above operation for the second section. Now click the "Create Volume" button. Specify the file system format and the size of the future partition. Please note that this operation cannot be performed on the system partition. All files on both drives will be deleted.
Step 4
If you need to perform this operation without losing data, or the system disk will participate in the merge process, then use a special utility. Download Paragon Partition Manager.
Step 5
Install this application on your computer and restart your operating system. Start Partition Manager. Activate the item "Advanced User Mode".
Step 6
Open the "Wizards" tab located on the program toolbar. Go to the menu "Additional functions" and click on the item "Merge sections".
Step 7
Click the "Next" button to go to the section settings. Specify two drives, in this case it will be drives C and D. Click the "Next" button.
Step 8
A window will appear warning that you are merging a non-system partition with a system partition. Click the "Yes" button to continue. A window will open showing the state of the hard disk partitions before and after merging. Click "Next".
Step 9
Click the "Finish" button to apply the settings. To start the process of merging sections, click the "Apply pending changes" button.


