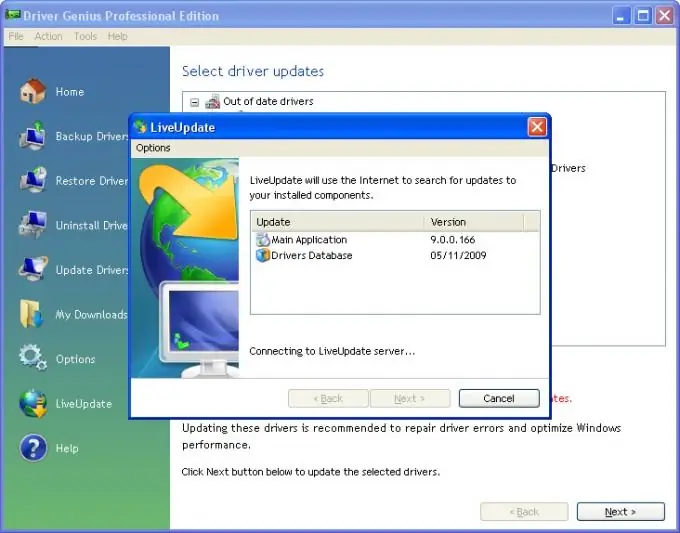
If you're going to reinstall the operating system and don't want the hassle of installing drivers for your computer, it's wise to save the device drivers ahead of time. This is very important for laptops without an operating system recovery disc. Or when the computer is not new and every time you have to spend time looking for the right software for it. The reasons may vary, but there is a simple and convenient way to resolve this issue.

Necessary
Driver backup software
Instructions
Step 1
Download a driver backup software. One of the most convenient ones today is the 10th version of Driver Genius Professional. There are other utilities, such as Double Driver or SlimDrivers, but the former is the leader in speed and ease of use without compromising quality. It is best to download from trusted sources, such as the developer's site.
Step 2
Install the downloaded utility. This operation is performed by clicking on the "Next" / Next and "Finish" / Finish buttons, depending on the version that you have. Launch the program from your desktop, or click Start> All Programs> Driver Genius (or whatever you have downloaded and installed).
Step 3
If all your devices work without obvious problems, then your drivers are in order and there is no need to update them. At startup, the program will prompt you to update / scan / check the current state of the system - close the window with this offer, or click "No", depending on your tool for saving drivers.
Step 4
Find the button labeled "Back Up Drivers" / "BackUp Drivers" and click it. Scanning of all devices installed in the computer will start; this operation takes a different time - from three minutes to half an hour.
Step 5
A new window will display a list of several categories: "Drivers currently in use", "Original Windows drivers" and "Disabled device drivers". By default, all categories are checked, if you do not want to save any of these groups - just uncheck the name. Click Next at the bottom of the window.
Step 6
The next step is archiving settings. Under the heading "Backup type" select the line "Autoinstaller" from the drop-down list. Below, select the location where the drivers will be saved, click on the "Browse" button to select a specific location, such as a flash drive, or another hard disk partition. Opposite the "Browse" button is the folder where your archive will be.
Step 7
Click the Next button to start the copying process. The program will take time to extract drivers from the system, depending on the speed of the computer. Do not interrupt the utility or turn off the PC. Close the program window after the message about the successfully completed task. Now you have an archive with all the required drivers.


