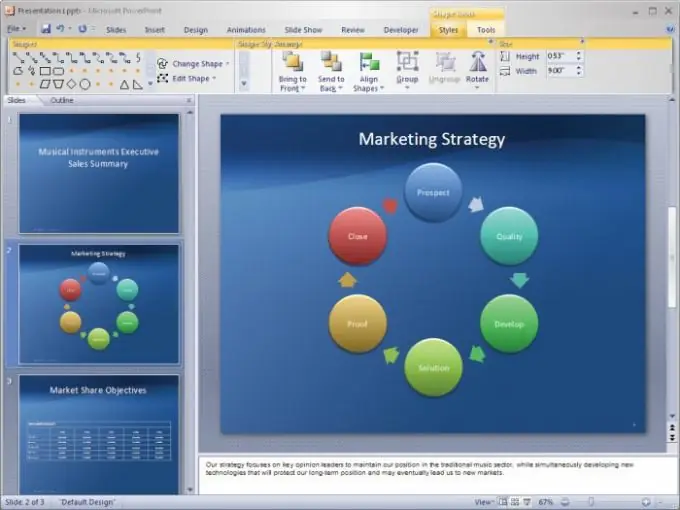
Microwoft Power Point is a convenient and widespread program for making multifunctional visual presentations. However, in some cases, when it is not possible to show everyone the presentation on the computer screen, or it is necessary to save the presentation for each viewer, the slides have to be printed. The printed slides can serve as a reference for your audience and listeners, and you can distribute them so that the audience can better follow the information from your presentation.

Instructions
Step 1
To get started, adjust the size of the slides, adjust the page orientation, and set the number of the first slide to be printed. Open the "Design" tab and call the "Page settings" option. In the Slide Size box, specify the paper size for the printout.
Step 2
You can enter your own width and height, and customize printing on transparencies. To set the orientation of your slides, select portrait or landscape in the Orientation section of the Slides group. Then enter the desired page number to start printing on in the Slide Numbering field.
Step 3
Click the "File" tab and in the "Print" section, configure the settings for the printout. In the Copies box, enter the number of copies of your presentation that you want to print. In the "Printer" field, select the desired printer on which you will print your presentation.
Step 4
Check the "Print all slides" option if you want to print each slide, or select the "Print selection" option. You can also select the option "Print current slide".
Step 5
To print slides with specific numbers, select the Custom Range option and enter the slide numbers to be printed.
Step 6
Open the Advanced Features group to set up one-sided or two-sided printing, as well as set up full page display of slides and customize how they are displayed.
Step 7
By selecting Slide Borders, you can print a thin border around each slide. Also check the "Fit to Sheet" option to automatically fit the slides to the size of your printing paper.


