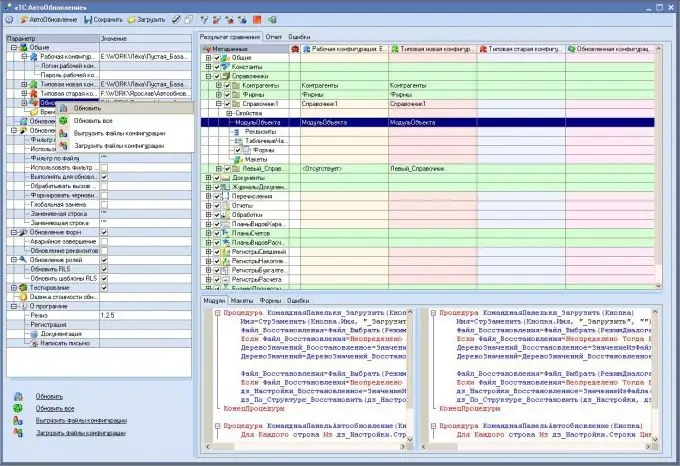
Working with 1C software has a number of its own characteristics, so only specially trained specialists are allowed to access the data. These programs are in great demand in the market of Russia and the CIS countries, despite the difficulties that arise during the work. Very often, 1C programmers are faced with the problem of updating the configuration of changed data. This is due to the fact that the update removes all settings.

Necessary
- - computer;
- - 1C: Enterprise version 8 and higher.
Instructions
Step 1
Select two databases - working and its copy. In the latter, display the changes that distinguish it from the standard configuration of the program, which is available at the beginning of work with the program after its installation.
Step 2
Create a.cf file as the manufacturer's site only provides a.cfu file to users. It will come in handy for the next step, which is directly related to updating the changed configuration.
Step 3
In the working database, go to the "Support" menu, then click on the "Update configuration" item, select the previously created.cf file. In the appeared comparison window of the database copy, uncheck the items that you recently updated.
Step 4
Compare and combine data using the Support menu. In the option "Support settings" there will be a sub-item "Compare and combine". Please pay special attention that in this case you should only compare and combine the data without checking the checkboxes. This operation is necessary only for the purpose of putting things in order and identifying the sequence of the sequence of objects in the conditions of the current configuration with the order and sequence of objects in the update file.
Step 5
Then again go to the same menu items in the "Support", again perform the "Compare and Merge" operation, in exactly the same way as the last time. Perform work on the objects, analyze the results, compare the identified differences between the working base and the copy, and in the copy of the base, specify exactly the points that you changed. Transfer changes from the new provider configuration. Save the changes by pressing the F7 key.
Step 6
Repeat the above steps several times before starting to work with real production databases. Remember, the more times you run this sequence before you start working directly on the data that is important to you, the better.


