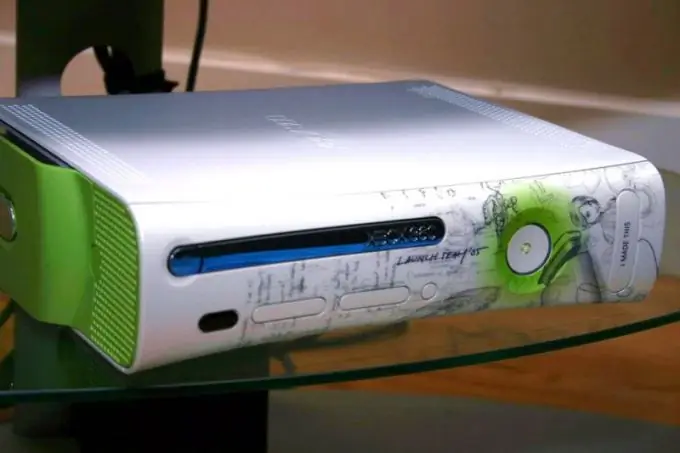
You probably already know that you can not only buy discs with games, but also burn them yourself, and this applies not only to PC games, but also to console versions, for example, Xbox. All you need to know is how an image is written to a blank disc.

Necessary
- - software CloneCD, ImgBurn;
- - the image of the game;
- - DVD + R DL burner;
- - blank disc DVD + R DL.
Instructions
Step 1
Before starting recording, you need to prepare an image, it should consist of 2 files - with the iso and dvd extensions. After installing CloneCD, launch it by double clicking on the icon on your desktop.
Step 2
In the window that opens, click the button with the disc and pencil "Burn CD from an existing image file".
Step 3
In the next window, click the Browse button to open the above files. Select the image and click the "Open" button. Then click the Next button.
Step 4
Next, you need to specify the drive with which the recording will be made. Also set the write speed. Remember the only rule: the lower the write speed, the longer your disk will last and the fewer read errors. Therefore, it is recommended to set the value to 2, 4x or 4x. Click the "OK" button to go to the next window.
Step 5
At speeds from 2x to 4x, the operation usually lasts from 20 to 40 minutes. When the recording is complete, a notification will appear on the screen.
Step 6
The same operation can be performed using the ImgBurn program. After starting the program, click the top Tools menu and select Settings.
Step 7
In the settings window that opens, go to the General tab, select the Page1 attachment. In the Language block, click on the drop-down arrow and select the "Russian" line, then click the "OK" button.
Step 8
Pay attention to the interface, now all elements are in Russian. Click the top menu "Tools" and select "Options" again. In the window that opens, go to the "Burn" tab and check the boxes next to the following items: "Close disk …", "Allow BURN-Proof", "Volume lock: ignore …". Leave the recording mode "Auto". Click OK to close the window.
Step 9
Select the Burn Image to Disc button. Specify the path to the file with the dvd extension as the source. It remains to specify the drive, select the write speed and click the "Write" button.


