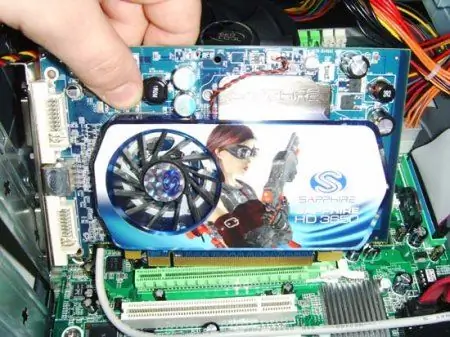
When assembling a new computer or improving an existing one, a number of rules and instructions should be followed when installing components. Manufacturers place a quick installation guide in the instructions, but such manuals, firstly, are too laconic (often just a drawing without explanations), and, secondly, explanations in them are rarely in Russian.

Necessary
Computer, video card, Phillips screwdriver, installation disc with drivers
Instructions
Step 1
Open the side cover of the system unit, which gives access to the motherboard connectors. Find the video card connector (it's called Pci express x16, either marked directly on the motherboard, or marked in the instructions). If you are changing the video card, remove the old one from the connector. To do this, unscrew the screw that secures the video card in the case and gently pull it towards you. If the card does not fit, look at the connector; it may have a special latch. In this case, bend it back and the card will be released.
Step 2
Insert the new video card into the slot. It should fit “all the way”, the comb of the contact group should evenly and completely plunge into the connector, while the back plate should fit snugly against the body, and the screw hole should match that on the case. Secure the video card with the fixing screw, while if the computer is going to be new, such screws are located in the assembly kit of the case.
Step 3
At this point, the process of installing the video card can be considered completed, turn on the power of the computer and, after loading the operating system, update the driver for the video card. To do this, run the driver installation program from the disk that comes with the video card, or download the required driver from the Internet.


