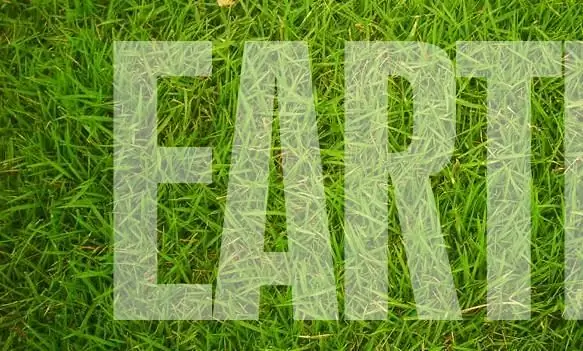
When editing photos, creating collages and photo selections, and other work with graphics, it is often necessary to cut out some element from the image - for example, you may need to cut out a text element from the image. It is not difficult to do this if you have Adobe Photoshop CS2 and basic skills in this graphics editor.

Instructions
Step 1
Open Adobe Photoshop and load the photo or picture you want to cut the text in using the File> Open menu command. Then in the top menu bar open the Filter tab and select the Extract option. You can also call this function by pressing the Alt + Ctrl + X key combination.
Step 2
You will see your image open in a separate editing window. In the left vertical toolbar, select the topmost icon - the marker tool.
Step 3
In the panel to the right of the picture, adjust the brush parameters - size, hardness, type, and so on. With the mouse cursor, carefully trace your object along the contour, completely closing the contour around the letters.
Step 4
When the text is completely outlined, on the left toolbar, select the fill - the second icon from the top, and apply it to the outlined areas.
Step 5
Check if you have any unprocessed pieces of text, and see how well the fill conveys the shape and outlines of the text. If everything suits you, click the OK button in the upper right part of the window.
Step 6
You will return to the main program window, and you will see that the cut text is now positioned on a transparent background, and it can be used for further editing and image processing.
Step 7
You can place the cut text on any new background, as well as change its shape, direction and color, as well as freely move the text fragment on the transparent field, choosing the best location for it.


