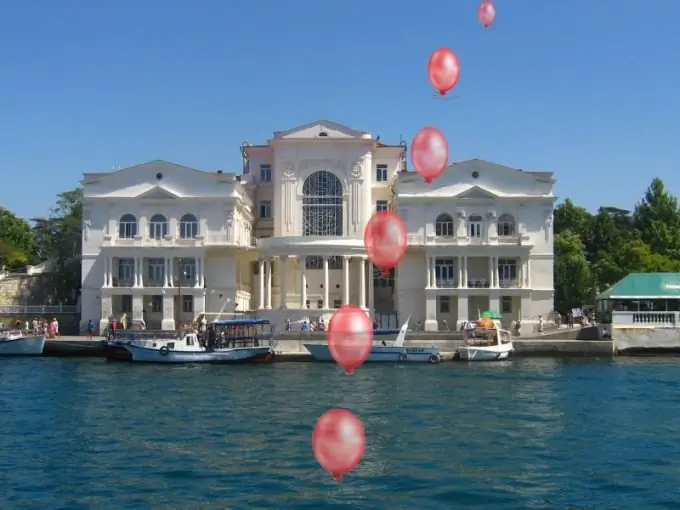
Paint.net does not have tools that allow you to make animations. However, with this free editor, you can create.

Instructions
Step 1
To create animation, you can use your own drawings or ready-made images. In both cases, you will need to create a series of pictures in which the position in space of the original object gradually changes. The more pictures you create, the smoother the animation will be. As an example, consider the flight of a balloon.
Step 2
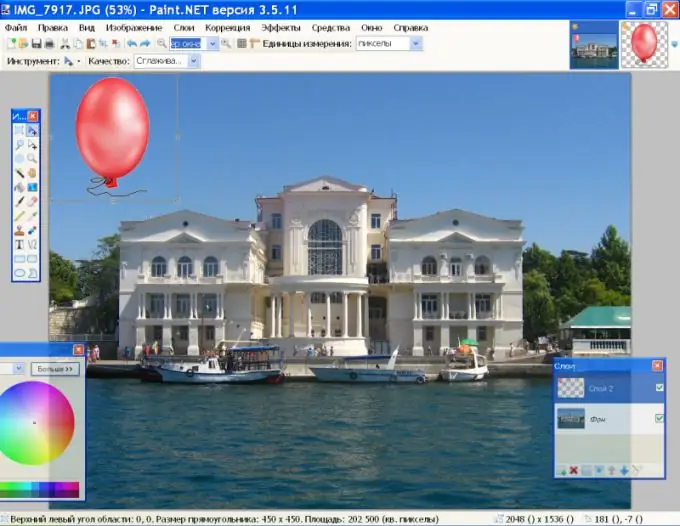
Open the background image in Paint.net using the Open command from the File menu. Open the balloon photo using the same command. Activate the "Magic Wand" on the toolbar and click on the background around the ball, then press Delete. Press Ctrl + A to select the image, then Ctrl + C to copy it to the clipboard.
Step 3
On the right side of the toolbar, click the background layer icon to expand the image. On the Layers panel, click the Add New Layer icon and press Ctrl + C to paste the balloon drawing. Hold it with the mouse and move it to the bottom edge of the background image.

Step 4
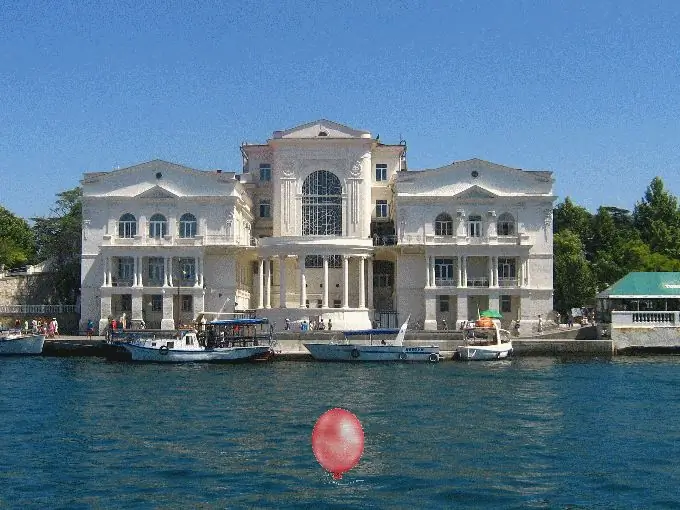
While holding down the Shift key, grab one of the corner selection handles around the ball with the mouse and drag it towards the center to reduce the size of the picture. Hit Enter. Double click on the thumbnail of the layer with the ball and reduce its opacity to about 190. Save the resulting image under the name 1.

Step 5
On the layers panel, click "Add a new layer" again and use the Ctrl + V keys to paste the image of the ball as the topmost layer. Reduce its size, lower its opacity and place it above the previous image. Consider the laws of perspective - the higher the ball rises, the smaller it seems to the observer. In addition, taking into account the wind, the ball cannot rise vertically up, but will simultaneously shift along the X axis. Remove the visibility of the previous layer by unchecking the checkbox at the right edge. Only the background and the new balloon layer should be visible. Save this image as 2.gif.
Step 6
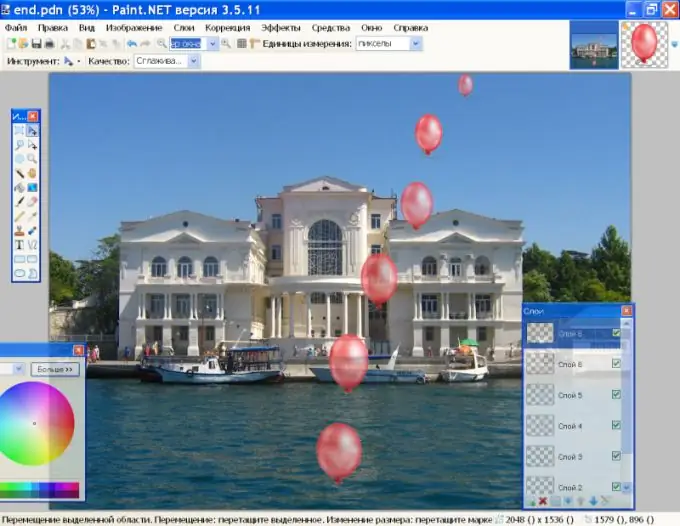
Repeat these steps several times, each time reducing the image of the ball and placing it above the previous position. Do not forget to turn off the visibility of the lower layer when saving the picture, so that during animation there are no 2 balls at once in one frame. As a result, you should have several layers with balls of different sizes. In the screenshot, the visibility of each layer is turned on so that you can imagine how the position of the ball changes in the background image.

Step 7
Launch the free UNFREEz program and open the folder with the saved gifs. Using the mouse, drag the images one by one from the file to the program window. In the Frame delay box, specify the frame interval and click Make Animated GIF. By default, the animation will be loaded into your gifs folder. To view it, you can use any program to view the image.


