AutoCAD is a system developed by Autodesk, it is the world leader in computer-aided design software. AutoCAD is widely used in various fields of human activity such as industrial and civil construction, mechanical engineering, cartography, GIS. Let's look at the step-by-step process of installing this system using AutoCAD Map 3D 2011 as an example.

Necessary
- Administrator rights of the personal computer on which AutoCAD will be installed.
- Serial Number - This should be printed on the AutoCAD packaging. If you upgrade from an earlier version of AutoCAD, you will need to use its serial number. It can also be found on the appropriate packaging, or found by selecting Help → About from the AutoCAD menu.
Instructions
Step 1
AutoCAD is installed using a special installer that either starts automatically, or you need to find the Setup.exe file in the root directory of the CD and run it. After initialization, the screen will display the menu shown in the figure "Start menu". We select the item "Install Products" (Installation of products).

Step 2
The next page prompts you to choose which of the bundled products we want to install.
Step 3
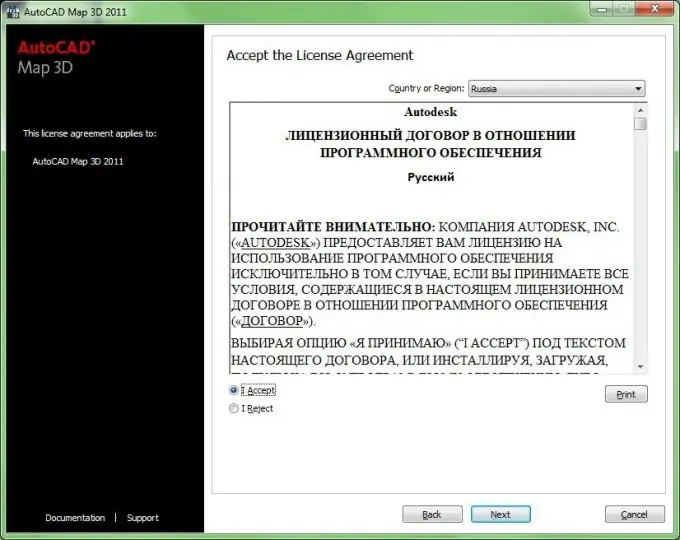
Further, it is proposed to read and accept (or reject) the License Agreement.

Step 4
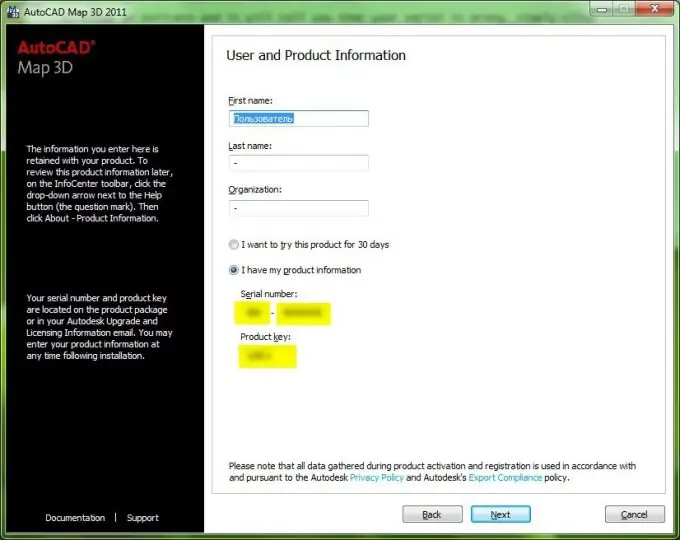
The next page is a short questionnaire: first name, last name of the user and the name of the organization that bought the system. Just below you need to choose whether you want to install AutoCAD for a trial period of 30 days or are ready to enter the serial number and key printed on the package. After filling in the required fields, click the Next button.

Step 5
Before starting the installation process, you are asked to check the correctness of the settings and configure each product to be installed separately. To change the installation parameters and the composition of the installed components, select the product in the “Select a product to configure” drop-down menu and click the “Configure” button.
Step 6
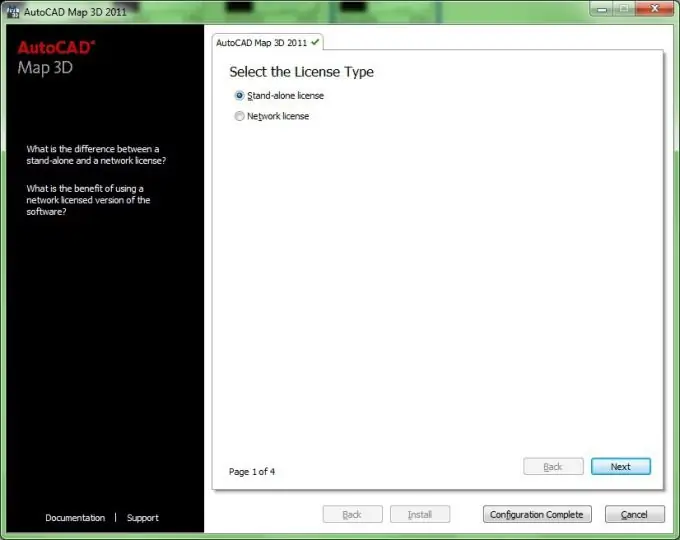
If you decide to change the installation settings and clicked the "Configure" button, you will first be prompted to select your license type "Stand-alone license" or "Network license". If you decide not to change anything, you can skip this and the next four points of the instructions.

Step 7
By clicking the Next button, you will see the page shown in the figure. Here you are asked to choose the type of installation: "Typical" or "Custom". If you do not have knowledge of the structure of AutoCAD and are not familiar with the purpose of its components, it is recommended to choose the usual option. If you choose "Typical", the default set of components will be installed. You can only change whether or not the Express Tools component is installed. Below it is suggested to choose whether to put a shortcut on the desktop and where to install AutoCAD.
Step 8
The "Custom" installation type implies that the user knows which components he will need and which will not. In the "Select features to install" window that appears, you can select them by unchecking or checking the boxes opposite the components present in the package. A short description of the "Feature description" of the currently selected component is displayed on the right.
Step 9
On the next page, you can choose whether to install the Service Pack (s) during the installation process, if it exists and / or is available for download. If you selected the "Include Service Pack from Autodesk.com" option, the installer will check for its availability on the manufacturer's website. If packages available for download are found, their list will be displayed in a small window below this menu item. Opposite the name of each package is its size and there is a Download button. After clicking the "Download" button, you will be shown the download process, which, if completed successfully, will change to a green checkmark. The fix pack can also be downloaded from a physical disk on a local computer or on a local network. To do this, select the item "Include Service Pack from local drive or local network". The last item on this menu allows you to opt out of installing any "Do not include Service Pack" fix pack. Having finished with the choice in this menu, press the "Next" button.
Step 10
Finish setting up the installation by clicking the "Configuration Complete" button. By clicking it, we will return to point 5 of our instructions.
Step 11
If the installation parameters suit you, then click the "Install" button.
Step 12
If the installation was successful, a window with the corresponding message "Installation Complete" and the button "Finish" will appear on the screen.
Step 13
The first time you start AutoCAD, you will be prompted to activate your license. This can be done via the Internet (recommended by the manufacturer), by phone, mail or fax. The corresponding form will be provided to you.


