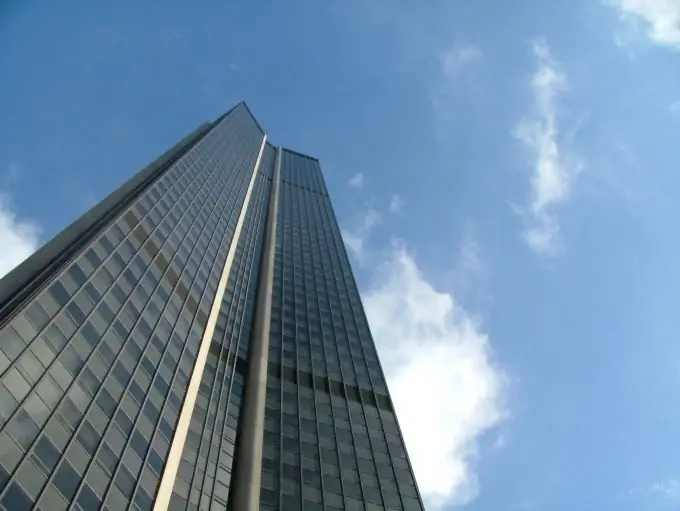
To create a simple animation, you don't have to go to study to be a cartoonist. Sufficient toolkit is available in Adobe Photoshop CS5. You will also need to master a few simple skills.

Necessary
Russified version of Adobe Photoshop CS5
Instructions
Step 1
Use, for example, a photograph of a skyscraper against the sky as a reference. Run the program and open the required file: press "Ctrl" + "O", select the picture and click "Open". Select the "Straight Lasso" tool (hotkey "L", switch between adjacent elements "Ctrl" + "L") and select the skyscraper in the picture. Press the combination "Ctrl" + "J" to create a new layer and transfer the selected area to it.
Step 2
Open a photo with clouds in the program, it should be larger than the image with a skyscraper. Press "Alt" + "Ctrl" + "I" and remember the values that are in the fields "Width" and "Height". Create a new file: "Ctrl" + "N", in the "Width" field specify the same value as the photo with clouds, in the "Height" field - the same, but multiplied by three. As a result, you should have three documents: one with a cut-out skyscraper, one with clouds, and a blank document. Hereinafter, they will be referred to as documents 1, 2 and 3, respectively.
Step 3
Switch to the document with clouds, activate the Move tool ("V") and drag the image onto the document 3. Align it so that it completely fills the bottom part. Switch back to document 2 and drag the picture onto document 3. Align it so it fills the top. Activate Document 2 again, click Edit> Transform> Rotate 180 Degrees. Then Edit> Transform> Flip Horizontal. Drag the result onto document 3 and center align.
Step 4
In the "Layers" window (if it is absent, call it with the hot key "F7") select the three existing layers with clouds (they should be named "Layer 1", "Layer 2" and "Layer 3"), holding down "Ctrl" and by clicking on each of them. Press the right mouse button and in the window that appears, click "Merge Layers". Drag the newly formed layer onto document 1 and place it below the skyscraper cut out layer.
Step 5
Click Window> Animation. At the bottom of the window that appears, click the only active button - "Create a copy of the selected files". Another frame will appear. The time that it will be on the screen is displayed at the bottom of the frame. In each frame, change it to 0.1 seconds.
Step 6
Switch to the first frame and then to document 1. Select the layer with clouds and using the Move tool, align its bottom-right edge with the bottom-right edge of document 1. Switch to the second frame and then back to document 1. Select the layer with clouds and align its upper right edge with the upper right edge of document 1. These two frames will be the start and end frames of the animation you are creating - the movement of clouds.
Step 7
Click the Create Tweens button at the bottom of the animation window. Enter 20 in the Add frames field and click OK. Delete frames 21 and 22 using the Delete Selected Frames button, which has the trash can logo and is located at the bottom of the animation window. The animation is ready. You can check this by clicking on the "Play" button.
Step 8
To save the result, press the combination "Alt" + "Shift" + "Ctrl" + "S", in the "Repeat options" field, select "Continuous", click "Save", write a name, select the path and click "Save" again.


