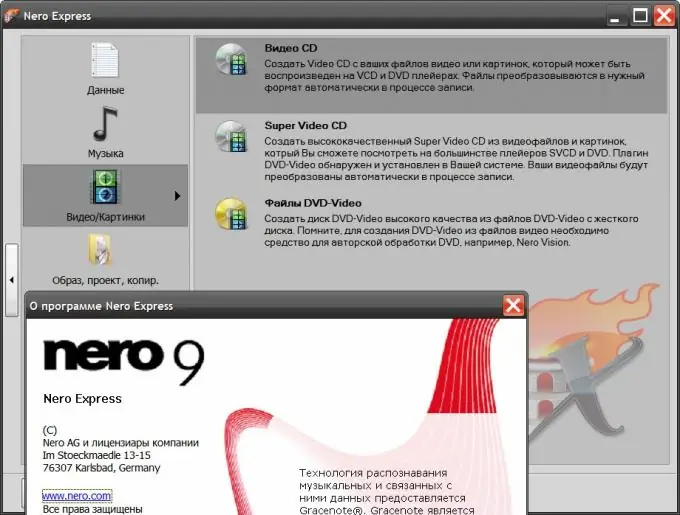
You can burn video files to a CD or DVD disc using any specialized program, or using the capabilities of the operating system itself. The second option is not possible in all OS versions, and the first one provides more possibilities for the design of the disc being created and allows you to put some additional functions into it. The following describes the procedure for burning video files to a CD using the Nero Express software included in the Nero Multimedia Suite.

Instructions
Step 1
Place the CD in the reader / writer and start Nero Express. Select "Video / Pictures" in the list of types of recorded data, and "Video CD" from the options for creating discs that appear on the right side of the program window.
Step 2
Click the "Add" button and in the Explorer window that opens, find the video files on your computer that you want to put on the disk. Select them all at once or one and click the "Add" button, which is also in the Explorer window. The selected files will be displayed in the main program window, which will calculate their total size and display the degree of fullness of the created disk. The indicator has three color ranges - red indicates disk fullness. Until the disk is full (green or yellow indicator color), you can add files without closing the Explorer windows. Then click the "Close" button in it, and in the main window - the "Next" button.
Step 3
Edit the appearance of the menus in the next step of the video disc creation process. By clicking the Arrange button, you can change the spatial position of the menu items, header, footer, and header. The "Background" button allows you to select a picture or fill with the color of the menu background, and the "Font" button - to adjust the color and style of all inscriptions in the menu. By checking the box "Show full screen menu" you can see how the result will look on the screen. The "Default" button cancels all changes made in the basic design of the menu. When finished with the menu, click the "Next" button.
Step 4
Select a recording device from the Current recorder drop-down list if you have more than one and click the Record button. After that, the process will begin, which, depending on the degree of disk fullness, the format of the selected files and the recording speed, can take from several minutes to several hours. At the end of the process, the program will beep.


