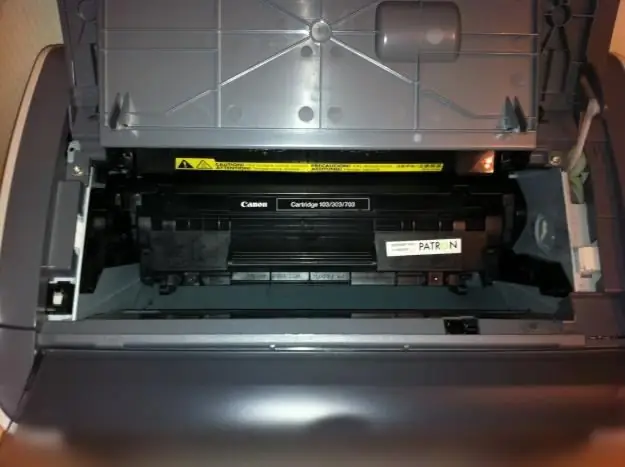
You can refill the cartridge with new ink or toner at any office supply store. However, doing it yourself is cheaper and faster. It takes only half an hour to refuel the Canon 2900 printer.

Necessary
- - toner
- - newspaper
- - an awl with a bent end
- - small pliers
- - crosshead screwdriver
- - napkins
Instructions
Step 1
First, lay several layers of newspaper on the table so as not to stain.
Step 2
Remove the cartridge from the printer, open the slide shutter on the cartridge and remove the spring by gently picking it up with a paper clip or needle. Remember the position of the spring. If later installed incorrectly, then it can touch the drum.
Step 3
Now unscrew the two self-tapping screws with a Phillips screwdriver, open the cover and take your time to remove the drum.
Step 4
Find the charging roller, gently pry it by the iron part and take it out.
Step 5
Place the drum and charging roller on a pre-prepared newspaper. Do everything very carefully, because the slightest scratches on the parts can degrade the print quality later.
Step 6
Using a dry cloth, gently wipe the edges of the toner drum.
Step 7
After that, open the cartridge shutter, find the hole and the inserted rod. With an awl, try to squeeze the rod out from the inside of the cartridge. The same should be done on the other side.
Step 8
Pull the rods out with pliers.
Step 9
Carefully separate the cartridge in two. You will see a toner box and waste toner on the other side.
Step 10
Now unscrew a couple of self-tapping screws in the waste toner portion and lift up the metal plate.
Step 11
Empty the used toner, remove the rest with tissue. Then place the metal plate back where it was and tighten the screws.
Step 12
Unscrew the self-tapping screw in the second half of the cartridge. Open the cover carefully by holding the magnetic shaft with your fingers. Be careful, if the magnetic roller comes loose, all toner may scatter.
Step 13
Remove the soft plastic plug and slowly add toner. Do not forget to hold the magnetic shaft during this time.
Step 14
Then put the plug back in place, put on the cover and screw the screw back. Put the drum and charge roller back on the other side of the cartridge. Slide the two halves of the cartridge together and insert the rods where they were.
Step 15
Close the cover, the other side of the cartridge and tighten the screw. Place the spring in the same position it was in. The cartridge is full.


