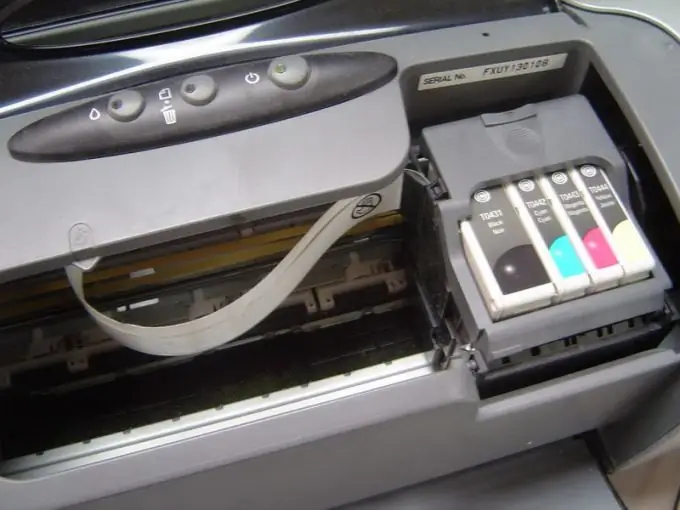
For a long time, printers have become part of our life. They can be found in every office and in many homes. But the printer cannot be used independently; in order to start working, it must be connected to a computer.

Necessary
USB cable
Instructions
Step 1
Most printers do not come with a USB cable, which is required to connect the printer to a computer, so be sure to purchase one in advance. It should be 1.8m or 3m long. Long, 5m cables do not work with all printers, so it is best not to use them.
Step 2
After you have unpacked the printer, you need to insert a cartridge (or cartridges, if the printer is inkjet). Remove the cartridge from its packaging, remove the protective tape or paper from the cartridge, and install it in the printer. Read more about how to do this in the instructions.
Step 3
Insert the driver disc into your optical drive. Autorun will work and a menu will appear (if autorun is disabled, go to the disk and run autorun.exe or setup.exe). The autorun menu for different printers may be different, you need to select the driver installation from the options presented. If for some reason the drivers were not included in the kit, then you can download them directly from the manufacturer's website.
Step 4
When the installer copies the necessary files, it will offer to connect the printer to the computer. Take a USB cable and connect the square connector to the printer and the rectangular connector to the computer. Then turn on the printer. The computer will detect it and proceed with the installation.
Step 5
If the printer is laser, then you will be prompted to print a test page. After it is printed, you can get to work. If the printer is inkjet, then before starting work, you need to calibrate it. The printer will print small drawings, after which you will need to enter the results on the computer that most closely resemble the printed drawing. After finishing the calibration, the printer will be ready to work.


