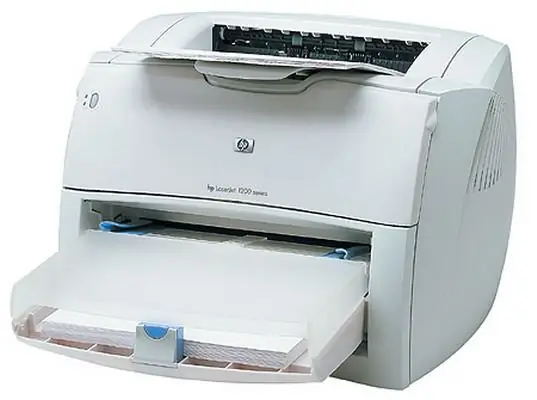
There are situations when multiple printers are connected to the computer. Or, one of the printers can be accessed on this computer via the local network. Of course, you can press "File-Print" each time, choosing the desired printer from the list. But this forces you to perform a number of unnecessary actions. In addition, this tedious operation often simply tires users. The best solution to this problem is to know how to set the default printer.

It is necessary
Windows computer (XP, Vista, Windows 7), printer
Instructions
Step 1
To set the default printer, click "Start" or the Windows button in Vista and Windows 7. Then select "Settings" and "Control Panel". In Windows Vista and Windows 7, you can directly select Control Panel.
Step 2
Next, in the "Control Panel" find the "Printers and Faxes" section. In Windows 7, under Hardware and Sound, select View devices and printers. If Windows 7 is set to Small Icons mode, go to Devices and Printers. Now double-click on the desired printer, then go to the "Printer" menu and check the "Use as default" checkbox.
Step 3
For convenience, if you think you will have to periodically change the default printer, you can move the "Printers and Faxes" folder to your desktop or taskbar for quick access. To do this, right-click on this folder in the "Control Panel", then click "Create shortcut".
Step 4
If you constantly use only one printer, and all the others are not needed, then another solution to the problem would be to uninstall those printers. To do this, right-click on the printer you want to remove and click “Remove” and then OK.
Step 5
Sometimes this method does not immediately remove the printer. In this case, check if a print job has been sent to it. You can see these jobs simply by clicking on the printer icon. If they are, wait until the end of printing, and then repeat the deletion procedure. You can also turn off / on the printer and delete all print jobs (they might freeze). Usually, after that, the printer can still be deleted.


