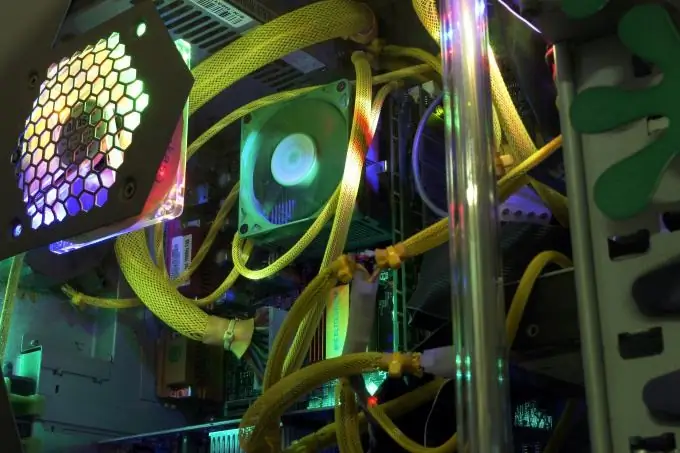
Rarely does a computer go without fans today. The efficiency of cooling the components of the machine depends not only on the correct choice of these devices, but also on the correctness of their installation.

Instructions
Step 1
Do not replace the fan intended for installation inside the power supply unit under any circumstances. An exception to this rule arises only if you are a specialist in the repair of switching power supplies.
Step 2
Power off the computer completely before installing or replacing any fan. Beforehand, correctly shut down the operating system on it.
Step 3
Some fans, such as the one located on the processor heatsink, may require removing the power supply to access some fans.
Step 4
Regardless of which fan is installed, first secure it, and only then connect. Use four screws to secure it. Some of these devices are designed to be mounted with three screws. Use self-tapping screws (in the jargon - self-tapping screws) with parameters similar to the parameters of the holes in which they are installed. Never try to install a fan directly onto the processor, bypassing its heatsink.
Step 5
If the fan is going to be powered directly from the power supply, plug it into any free Molex connector. If there are no vacant connectors of this type, use a so-called Y-adapter. Sometimes it is included in the fan. It is also easy to make it yourself, but at the same time you need to be very careful in order to completely exclude short circuits, as well as voltage on one or another power bus that should not be on it.
Step 6
In case the fan is equipped with a small three-pin connector, connect it to the corresponding connector on the motherboard or video card. Fans designed for rear-panel mounting are also often wired in the same way. But for this, the motherboard must have an additional connector.
Step 7
If the power supply was removed during fan installation, reinstall it.
Step 8
If at least one of the newly added or replaced fans is equipped with a tachometer, after turning on the machine, first of all run the CMOS Setup utility. Go to the "PC Health Status" section of the menu, then make sure that the signal about the presence of rotation is received from the tachometer.


