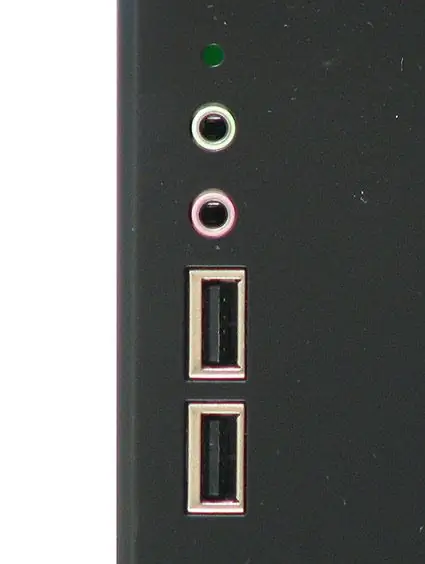
The USB port on the front panel of the case of the system unit has long become familiar to users, increasing the convenience of work. It allows you to quickly connect (and disconnect) peripherals without requiring access to the back of the system unit, teeming with wires and connectors. However, for proper functionality, the front panel USB port must be connected to the motherboard.

Instructions
Step 1
The first thing you need to do is access your computer's motherboard. Turn off its power and open the system unit (this usually requires unscrewing two to four screws). The details of this procedure are highly dependent on the manufacturer and model of your system unit case.
Step 2
Check your motherboard's user manual (or just take a closer look) and locate the USB interface connector (usually a nine-pin) on the board, labeled USB 1 (or 2, or 3, and so on).
Step 3
Pay attention to the wires coming from the front of your case. Among them (and most of them will likely already be plugged in if the computer is in working order) you will find a connector labeled "USB" (which is logical) and ideally matches the male connector you found earlier on the motherboard. Plug it in.
Step 4
Reassemble the case in its original form, turn on the computer and try to connect a device to the front connector. If you did everything correctly, the connector should work.


