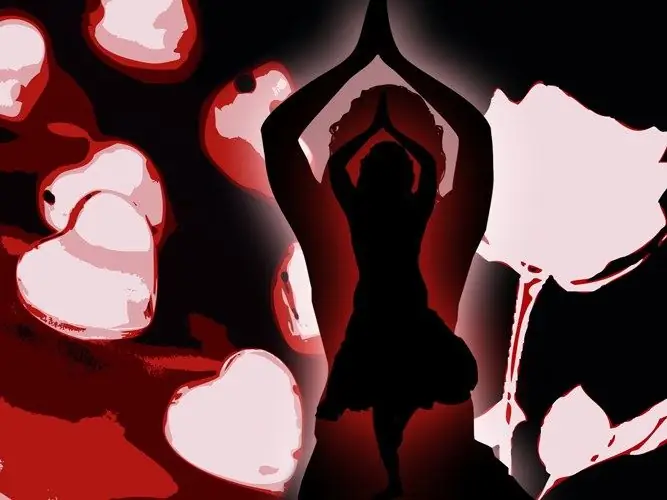
A multi-color image with few objects can be turned into a spectacular black and red image. To do this, in Photoshop, you will need to apply several adjustment layers to the source file.

Necessary
- - Photoshop program;
- - image.
Instructions
Step 1
Open the original picture in a graphics editor by pressing Ctrl + O. Use the Ctrl + J keys to duplicate the image layer. This will allow you to have on hand the original version of the file, which you can return to if the result of the work does not suit you.
Step 2
Use the Desaturate option in the Adjustments group of the Image menu to make the picture black and white. It may turn out that most of the discolored image consists of grayscale, which will interfere at this stage of the work. To get rid of them, use the Threshold option of the New Adjustment Layer group of the Layer menu to insert an adjustment layer over the picture. Adjust the filter settings so that the resulting image, consisting of black and white areas, retains the details of the subject.
Step 3
If the main part of your picture has become white, and you want to get an image with a black background, go to the layer with the processed picture and invert its colors by pressing Ctrl + I. The old adjustment layer settings may not affect the modified image in the best way. To tidy up the image, double-click on the filter thumbnail of the adjustment layer and adjust it again.
Step 4
To turn the white areas of the picture into red, insert a new adjustment layer on top of the filter layer using the Selective Color option from the same New Adjustment Layer group. Of course, all filters can be applied directly to the picture without creating adjustment layers, but you will lose the ability to change their settings.
Step 5
In the Selective Color filter window that opens after creating the layer, select Whites from the Colors list, and in the Method field, enable the Absolute option. For red, increase the amount of magenta and yellow by moving the controls for those colors to the right.
Step 6
The result is bright, but flat and devoid of a lot of detail that was present in the original image. To bring back the lost fragments, copy the desaturated image and place the duplicate on the top adjustment layer in Multiply mode. Using the Brightness / Contrast option in the Adjustments group of the Image menu, increase the contrast of the image and reset the brightness. Dark red details from the original drawing appear over the red areas of the picture. You can lower the opacity of the top layer if there are too many details.
Step 7
Remnants of fragments of the original image in the form of red dots may remain on the black background of the picture. You can remove them by painting in black. To do this, add a new transparent layer to the file using the Ctrl + Shift + N keys, turn on the Brush tool and paint over all unnecessary fragments with the background color.
Step 8
Use the Save As option on the File menu to save the black and red image to a.jpg"


