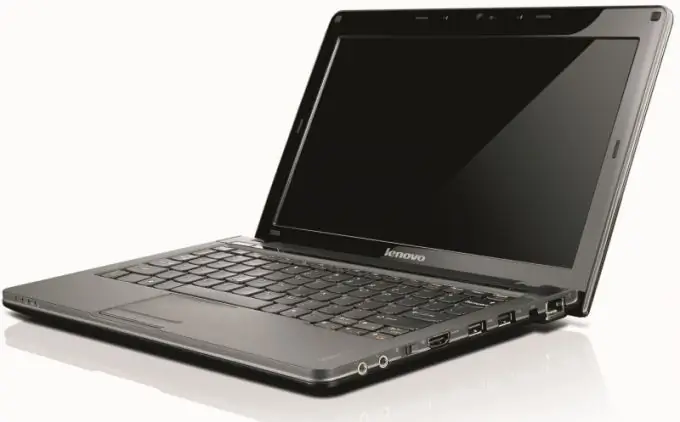
An IBM notebook is the perfect solution for those users who have high demands on the usability of a laptop, as well as prefer durable devices and value the rigor of their appearance. But even a laptop designed for durability can stop functioning at the most inopportune moment. To fix the problem, you first need to disassemble the laptop.

Necessary
- - a set of Phillips screwdrivers;
- - tweezers;
- - scalpel.
Instructions
Step 1
Disconnect external power to the laptop and remove its battery. Then flip the laptop over (the bottom should be up) and carefully unscrew any screws in the field of view. Then remove the cover that contains the hard drive, RAM, Wi-Fi card and other PC components.
Step 2
Carefully remove all boards, CD-ROM drive, and hard drive. After that, carefully inspect the inside of the laptop for the presence of mounting posts and loose screws. Please note that on some laptop models, the CD-ROM drive can only be removed after removing the keyboard.
Step 3
Turn the laptop over to its normal position and open the lid approximately 120 degrees, and then remove the keyboard. The keyboard is removed in different ways in different models of IBM notebooks. On some laptop PCs, it is secured with latches around the perimeter, so in this case, gently bend these latches with a scalpel and remove the keyboard.
Step 4
There are laptop models in which the keyboard is fixed both with latches and with screws hidden under a narrow panel. To remove the keyboard, you need to carefully separate the panel from the laptop case with a scalpel (do not break the tabs of the latches holding the panel). After removing the panel, unscrew the fastening screws holding the keyboard, and then slightly lift its far edge and, moving forward, release the keyboard from the fastening grooves.
Step 5
Using tweezers, carefully disconnect the data cable inserted into the motherboard connector. By the way, there are three types of connectors: with a vertical travel lock, with a horizontal travel lock and without a mechanical lock.
Step 6
Inspect the keyboard attachment and remove all screws located there. Next, disconnect the microphone wire, the Wi-Fi card wires, and the webcam wire. Unscrew the screws securing the die and remove it.
Step 7
Disconnect the touchpad ribbon cable from the motherboard connector. After making sure that all the screws are removed, carefully, taking care not to break the latches, separate the laptop case in two. Then remove the cooling system radiator and heat sink.
Step 8
After the case is disassembled, it will not be difficult to remove the motherboard and the remaining components.


