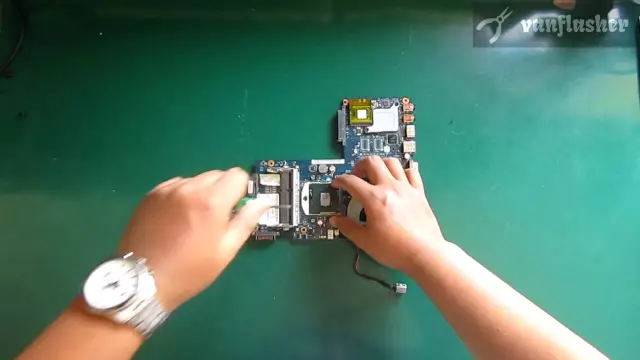
In the "life" of every computer there comes a moment when its performance is insufficient for the tasks that the user sets for it. And since the computer consists of separate components, replacing only some of them can significantly increase this very productivity. Replacing the processor is one of the most effective ways to improve the speed of your computer.
Necessary
computer, new processor, thermal paste, screwdriver, basic computer skills
Instructions
Step 1
When buying a new processor, pay attention to its compatibility with your motherboard. To find out, go to the motherboard manufacturer's website and look for the compatibility chart. Qualified sellers in specialty stores can also help with this issue.
Step 2
Turn off your computer and unplug the power cord before replacing the processor. Open the side panels of the case.
Step 3
The processor is located under the cooler heatsink. To replace it, remove the cooler. Usually cooler latches are easily accessible, however, some models of cooling systems can be removed only by removing the motherboard from the case. After removing the retaining clips, carefully disconnect the cooler from the processor. It can stick hard enough, and to move it from its place, slightly twist the cooler around the axis.
Step 4
Open the socket retaining bracket and slide out the old processor. Replace the new processor and close the bracket. When doing this, be careful to ensure that the processor is seated correctly in the socket and in alignment with the key tabs.
Step 5
Apply some thermal paste to the top cover of the processor and spread it over the surface of the cover. You should get a thin layer.
Step 6
Use a rag or paper to remove the old thermal paste from the bottom surface of the cooler and reinstall the cooler. Make sure that all latches are fully closed and that the cooler fits snugly against the processor and does not wobble. Close the case covers and turn on the computer.


