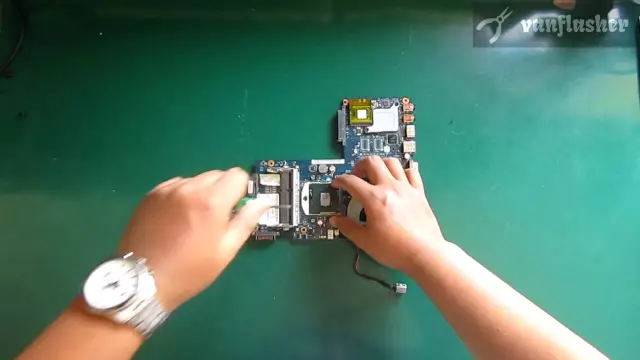
To replace a processor, two main motivations often arise: the breakdown of an old computer or the desire to improve its performance. In the first case, everything is very simple, so it is worth considering the situation when the processor is replaced by a newer model.

Necessary
- Crosshead screwdriver
- A piece of lint-free cloth
- Thermal paste
- New processor
Instructions
Step 1
Start by choosing the processor you need. To do this, on the Internet, look at the processor models that your motherboard supports, and choose the best option. Attention should be paid to the number of cores, hertz and socket type.

Step 2
First, remove the left "wall" of the system unit. Find the largest fan that is perpendicular to the motherboard. Most likely, it will be mounted on four self-tapping screws to the motherboard. Unscrew them all and remove the cooler together with the radiator fins. Please note that a power cable goes from the cooler to the motherboard, and remember the connector into which it is inserted.

Step 3
With a cloth, gently clean the heatsink and processor tip from residual thermal paste. Now gently bend the spring that holds the processor against the socket on the motherboard, and then remove the old processor. Replace it with a new, pre-prepared processor.
Do not be afraid to insert it the wrong way - there are special notches in the sockets to prevent erroneous installation. If you have an old motherboard, a triangle will be drawn in one corner of the socket, just like on the processor. They must match when installing the processor.

Step 4
Apply thermal grease to the surface of the processor. Do not be too generous - this can lead to leakage of the paste and damage to the equipment.
Now carefully insert the radiator into its rightful place and tighten the screws. It will be better if you let the thermal paste "dry". To do this, do not use the system unit for at least half an hour after installing a new processor.


