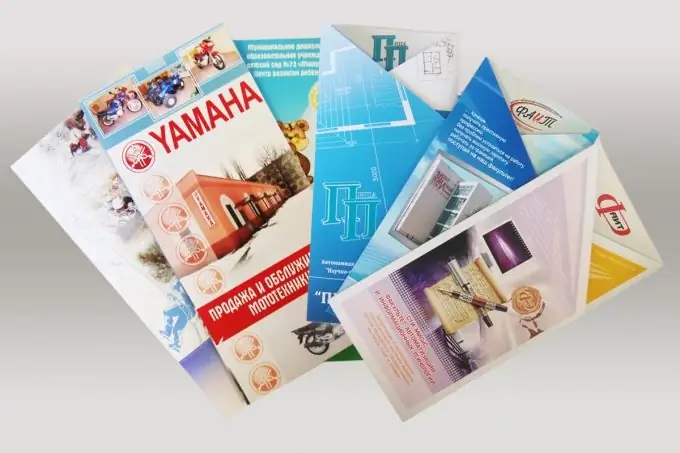
Unfortunately, not everyone has the skills to work in design programs, which sometimes do not have enough time to master. Photoshop, unlike professional layout programs, is one of those that most computer users own. And if you have at least a little knowledge of its basics, then it will not be difficult for you to make a booklet, as well as other simple things - a diploma, a diploma, a congratulatory letter or a postcard. The main thing is to have perseverance and a little imagination.

Instructions
Step 1
A booklet, like other printed products, carries information about an organization, some services, a specific project or event. Therefore, designing a brochure begins with gathering information for it. These are photos, logo and contact details of the organization, the text of which is usually one, maximum two pages in a booklet.
Step 2
The background plays a special role in the booklet, which sets the color mood for the entire product. If you have problems choosing a background, which is not uncommon for beginners, it is better to look at the ready-made brochures that are at hand, or find examples on the websites of publishers, and, thus, decide on the color scheme you need. Then it will be easier for you to choose photos for the background.
Step 3
The layout of the booklet is placed on two pages - external and internal, which are done in Photoshop in two different files. Work on each of them begins with the creation of an A4 document, landscape orientation. On all four sides of the pages, the guides are cut off by 5 mm - these are the edges that do not fall into the printable area of the printer and can be cut off later. Also, the guides, the working area of the pages is divided into three identical columns.
Step 4
The middle and right columns of the outer page are a kind of "cover" of the booklet, which are decorated in brighter colors. In this case, the right side is the front side, and the middle side is the back side. The front side should contain the main information of the booklet - the logo and name of the organization, name, center photo, if necessary, the year and place of issue are located in the bottom center. The back cover usually displays the organization's contact information. The left column of the outer page of the booklet is more thematically related to the information on its inner spread and may contain the problematic or the relevance of its topic, and in some cases the summary of the main material.
Step 5
The inner side of the booklet contains a full disclosure of its subject matter and consists of text, in a font not less than 6-point size, and photographs, the sizes of which should preferably be the same. To facilitate the perception of information, the text can be divided into sections and headed by small headings.
Step 6
When all the material is located on the pages of the future booklet, it's time to put it on a draft print, cut the edges if necessary and fold. On the folded paper, you will see all the flaws, including spelling errors.
Step 7
The text should be easy to read and carry useful information - too small will not interest anyone, and the lack of food for thought will not leave a good impression in the memory of readers. Material, especially text, should be centered in each column, i.e. be at an equal distance from the fold lines and the edges of the sheet. Photos at the very edge and on the folds of the booklet also look ugly.
Step 8
Having corrected your shortcomings, show your art to someone, for sure there will be a couple more remarks seen with a fresh eye. And only after your booklet has acquired the form of a publication that you and those around you like, it can be put into final print.


