Surely, many thought about expanding the capabilities of the computer came to mind. For these purposes, there are many additional devices and programs. We will consider a specific modification of your PC or laptop, adding only one function to them: the ability to watch TV channels. The simplest and cheapest method to achieve this goal is to purchase and install a TV tuner. Their main differences lie in the quality of signal reception and, of course, in the options for connecting them to your "machine".

Necessary
- TV tuner
- Free PCI or usb slot
Instructions
Step 1
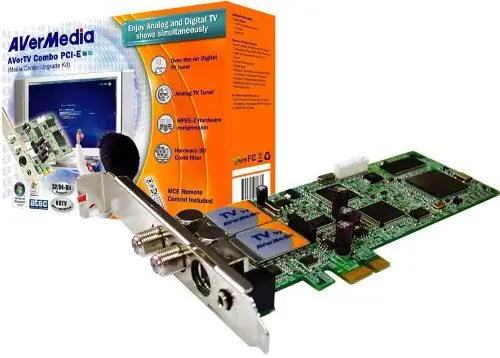
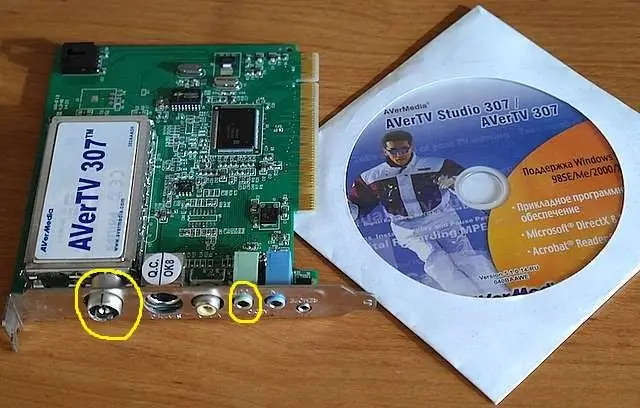
When choosing a TV tuner, there are a few things to keep in mind. If we are talking about a laptop, then you definitely need a tuner with USB connectivity. In the case of a computer, a TV tuner with a PCI slot would be ideal. Let's take an example on the AverMedia 307 tuner. Remove the cover of the system unit, find a free PCI slot and insert your TV tuner into it.
Step 2
On the tuner panel, you will see several connectors. Insert the TV antenna or satellite cable into one of them, and your speaker system or headphones into the other.

Step 3
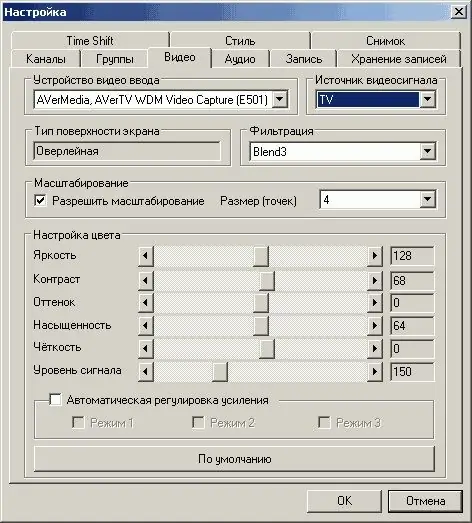
Now let's move on to setting up. A CD is included with the TV tuner. Install AVerTV Software drivers and software from it. Run the installed program and open the "Video" tab. In the column "video input device" select your TV tuner, "signal source" - TV, "filtering" - Blend3. Check the box next to "Allow scaling". In the future, in this window, you will adjust the image parameters: brightness, saturation, etc.

Step 4
Open the "Channels" tab and click the "Auto Search" button. After a while, you will see a list of channels. Uncheck the channels you do not need, as a result they will not be displayed when selected. Immediately change the digital priorities of the channels for more comfortable further use of the program.


