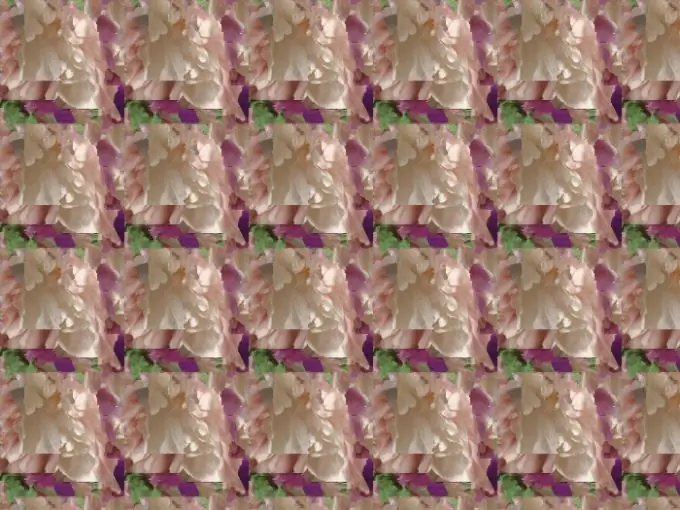
Often, when creating images in Adobe Photoshop, it becomes necessary to fill a layer or part of a layer with some kind of pattern. This can be done using the Paint Bucket Tool (Fill). On the property bar of this tool, expand the list next to the icon and select Pattern. After that, it becomes possible to select a pattern for filling from the following drop-down list. The program offers several ready-made patterns, but you can create a new pattern to your liking.

Necessary
Adobe photoshop
Instructions
Step 1
Open any image. Select with the Rectangular Marquee Tool the part of the picture that you like. From the main menu, select the Edit item and the Define Pattern option. In the window that appears, give a name to your pattern and confirm with OK.
Step 2
This pattern is now at the bottom of the template list. Deselect the selection with Ctrl + D. Create a new layer. Select the Paint Bucket Tool. On the property bar, expand the list next to the icon and select the Pattern fill method. In the next window, expand the list again and find a new pattern. Left-click anywhere on the screen.
Step 3
Such a fill does not always look aesthetically pleasing. To smooth the boundaries between rectangles, you need to use the Blur Tool (Blur), the Liquify filter (Flow) and many other features of Photoshop.
If you have selected the entire image for the pattern, the fill will appear as a single pattern.
Step 4
You can use one of the Photoshop filters to create the pattern. Select Filter and Pattern Maker from the main menu. A dialog box opens in which you can configure the filter parameters.
Step 5
Select the part of the image that you want to make a pattern and click the Generate button. You will see the result immediately. If you like it, click the Save Preset Patterns floppy disk button to the left of the History window and enter a name for the pattern in the Pattern Name window.
Step 6
The Generate button has changed to Generate Again. Click it and the program will generate a new pattern. The list can contain no more than 20 textures. Remove unsuccessful options by clicking the trash can button to the right of the History window.
Step 7
You can change the filter settings Width, Height, Offset, Smoothness and Sample Detail. The higher the value of the parameter, the longer it takes to generate the picture. Click the Use Image Size button to get one large image that fills the entire image.


