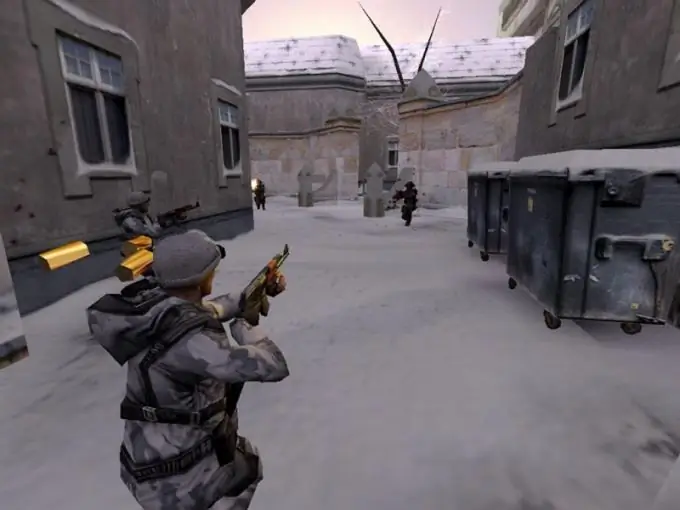
Quite often, players create recordings of gameplay. This helps you identify your own mistakes or create a video clip dedicated to a specific game in the future. Counter-Strike features include the ability to automatically record a demo.

Necessary
Counter-Strike
Instructions
Step 1
Download the game and install it. For this it is better to use the official resource www.steam.com. Create your own account and download Counter-Strike game. Restart your computer and start it.
Step 2
Connect to the server of your choice and open a console. To start recording a demo, enter the command record "demo name". It is necessary to use Latin letters and numbers when choosing a name. Enter the stop command to end the gameplay recording.
Step 3
It is not always convenient to constantly open the console and enter the indicated commands. Assign commands to specific keys. Open your console and type bind "f1" "record name1" into it. In the same way, assign other keys to start recording a demo with a different name. Select the key that will stop recording. Enter the bind "f12" "stop" command in the console.
Step 4
Press the desired keys to start and stop demo recording. Remember that when you start recording a demo with the same name again, the old file will be overwritten. To avoid this situation, move the saved demo files in a timely manner.
Step 5
If you are using the steam version of the game, then open the program files folder and go to the steam directory. Select the steamapps folder and open your account directory. The recorded demos will be located in the cstrike folder and have the.dem extension. For Non-Steam versions, you need to open the cstrike folder located in the directory where you installed the game.
Step 6
Use Counter-Strike to view demo files. Enter the command view "demo name" in the console. If you do not have a game, then use the GeekPlay program. It is designed to play demo files recorded in most versions of Counter-Strike.


