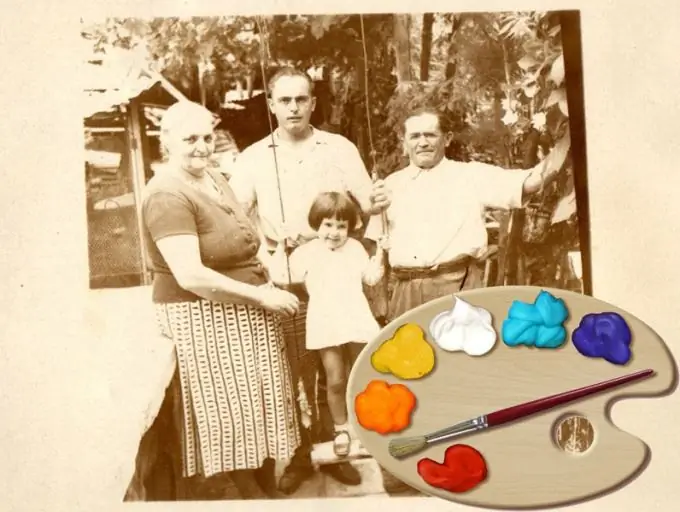
Taking a photo is easy today. To do this, you do not need to purchase a camera or go to a photo studio - it is enough, for example, to have a cell phone. I want to save some of the pictures I took on my own and even decorate them beautifully. Unfortunately, not everyone who can take a picture can draw beautifully using a computer. However, you can use any ready-made highly artistic picture and insert the desired photo into it.

Necessary
Graphic editor MS Paint
Instructions
Step 1
Use the graphic editor Paint for this - this application is installed by default with the Windows operating system. To launch it, use the link in the main OS menu or press the Win + R hotkey combination, enter the mspaint command and press Enter.
Step 2
Load a picture into Paint that will be the background for the photo. To do this, after entering the program menu by clicking on the blue button without an inscription in the upper left corner of the application window, select the "Open" line. The keyboard shortcut Ctrl + O is assigned to this command - you can use it too. With the help of the dialog that starts, find the required file on the computer and click the button, which here again repeats the "Open" command.
Step 3
Click on the icon with the inscription "Paste" in the menu of the graphical editor - it is placed on the default active tab "Home". In the drop-down list of just two lines, select "Insert from". The same dialog will start again as in the previous step. This time, find the file that contains the inserted photo and double-click it. As a result, the editor will place the picture over the background image and framed by a rectangular dotted frame, on each side of which three anchor points will be placed.
Step 4
Adjust the size and position of the photo in the background image. Using the mouse cursor, you can move it with the left button pressed, and by moving the anchor points on the frame, you will change the size and proportions of the image. Be careful - after clicking on the background image outside the inserted picture, the frame will disappear and you will no longer be able to manipulate its size and positioning.
Step 5
Open the editor menu again by clicking on the blue button in the upper left corner of the application window and go to the "Save As" section. Select one of the graphic formats for the new file, and then in the dialog that opens, specify its name, storage location and click the "Save" button.


