Sometimes, when processing digital images, it becomes necessary to make them more realistic. This can often be achieved simply by changing the light-shadow balance of the composition. In modern graphic editors, you can apply a shadow to a drawing in different ways.

Necessary
Adobe Photoshop editor
Instructions
Step 1
Open the drawing in Adobe Photoshop. Press Ctrl + O. Go to the directory with the picture file, select it and click the "Open" button.
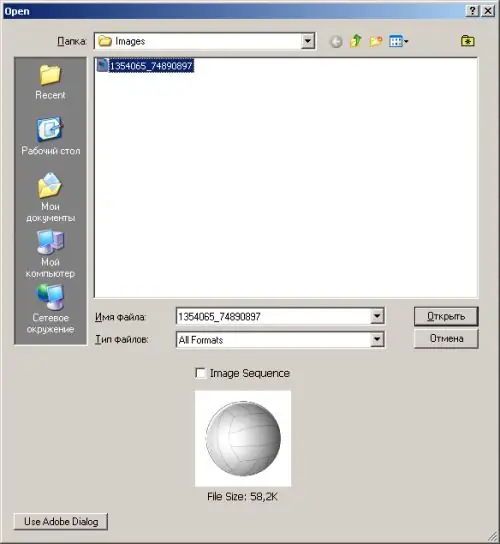
Step 2
Create a new content layer that duplicates the background layer image. From the menu, select the items Layer and "Duplicate Layer …". In the dialog that appears, in the As field, enter, if desired, the name of the new layer and click OK.
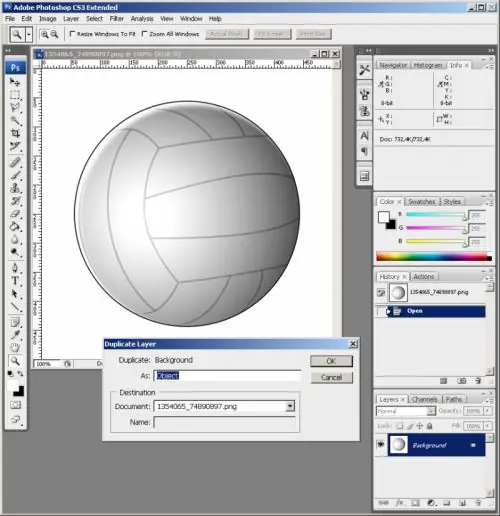
Step 3
Edit the image in the duplicate layer to remove the background and fragments that represent objects for which you do not want to create a shadow. Use the Eraser Tool or create selection areas with the appropriate tools and choose Clear from the Edit menu.
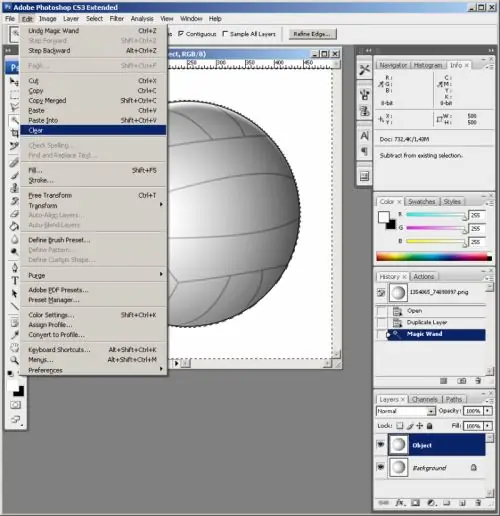
Step 4
Apply a shadow to the drawing by creating it with a brush. Activate the Brush Tool. Choose the width of the brush using the Brush drop-down list on the top panel. Set the opacity of the brush to 20-30%.
Create a new layer by pressing Ctrl + Shift + N or choosing Layer, New, Layer from the menu. Place the created layer between the two already existing layers. Using the brush, shape the image of the shadow in the current layer.
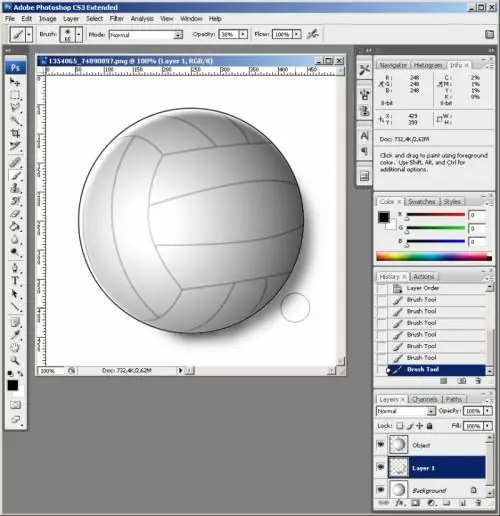
Step 5
Add shadows to objects in the picture by distorting and darkening their duplicated images. Make a copy of the top layer. Place a new layer in between the previous ones. Delete from the current layer the images of all objects for which you do not need to create shadows (you can delete all objects except one if the shadows will be created for each object sequentially).
Warp the images of the current layer. Select one or more sections of the image. If you need to warp all of the content, do not select anything. Select Edit, Transform, Distort from the menu. Move the edges of the displayed frame with the mouse until you get acceptable "blanks" of the shadows. Select a tool from the panel. Click Apply in the message box.
Darken the image of the current layer. Press Ctrl + U or select items Image, Adjustments, "Hue / Saturation …" from the menu. In the dialog that appears, move the Lightness slider to the extreme left and click OK.
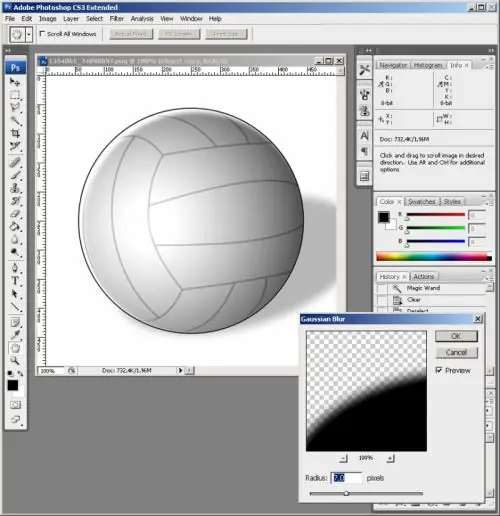
Change the transparency and blur of the created shadows. In the Layers panel, set the Fill and Opacity values. Then choose from the menu items Filter, Blur, "Gaussian Blur …". In the dialog that appears, select the blur radius. Click OK.
Step 6
Create a shadow in the picture by changing the layer style. With the current top layer in the menu, select Layer, Layer Style, "Blending Options …". In the Styles list of the dialog that appears, select the Drop Shadow element and check the box on it. In the group of Structure controls on the right, select the drop angle, length, and size of the shadow by entering values in the Angle, Distance, and Size boxes. Set the Opacity parameter to determine the opacity level of the shadow. Select its color by clicking on the rectangle next to the Blend Mode list. Click OK.


