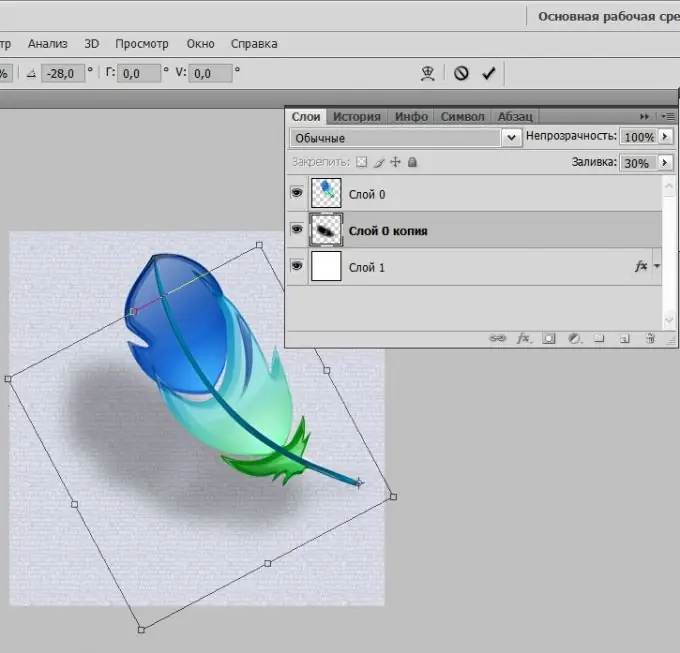
One of the layer overlay options in the graphics editor Adobe Photoshop makes it possible to add a shadow to the outline of an image. This effect is very handy for designing all sorts of interfaces, icons, etc., but it does not allow you to get a natural looking shadow under the given lighting conditions. In such cases, it is better to use a simple manual sequence.

It is necessary
Graphic editor Adobe Photoshop
Instructions
Step 1
Open the file containing the original image. The shortcut keys CTRL + O launch the corresponding dialog.
Step 2
Press the keyboard shortcut CTRL + J. This way you will create a copy of the layer with the original image - it will become the shadow of the object of the original layer.
Step 3
Press CTRL on the keyboard and, while holding the key, click the icon to the left of the name of the duplicate layer. This will select the outline of the object in this layer.
Step 4
Press "hot keys" alt="Image" + BackSpace - this is the command to the editor to fill the selected path with black color.
Step 5
Expand the "Filter" section in the editor menu, go to the "Blur" subsection and select the "Gaussian blur" line. Here you need to choose the parameters for blurring the future shadow, depending on the proportions of the object and the nature of the lighting. Select the desired value visually by moving the slider and controlling the changes in the preview picture. When you get a satisfactory result, click the "OK" button.
Step 6
Swap the shadow and object layers - just drag the original layer with the mouse to a position above its copy in the layers palette.
Step 7
Click the shadow layer and press CTRL + T. This way you can turn on the tool to deform the outline of the image. A frame will appear in the picture with three anchor points on each side (in the corners and in the middle). Move the midpoint on the upper side of the rectangle while holding down the CTRL key to give the shadow the most natural shape for the angle and direction of illumination existing in the picture. You can make the shadow shorter than the main object if the light source is high, or vice versa, longer if it is low. When you get the desired result, press Enter.
Step 8
Move the slider in the "Opacity" drop-down list to 60% or lower - select the exact value visually. This completes the procedure for creating a simple shadow of the object, and you can start further processing the image.


