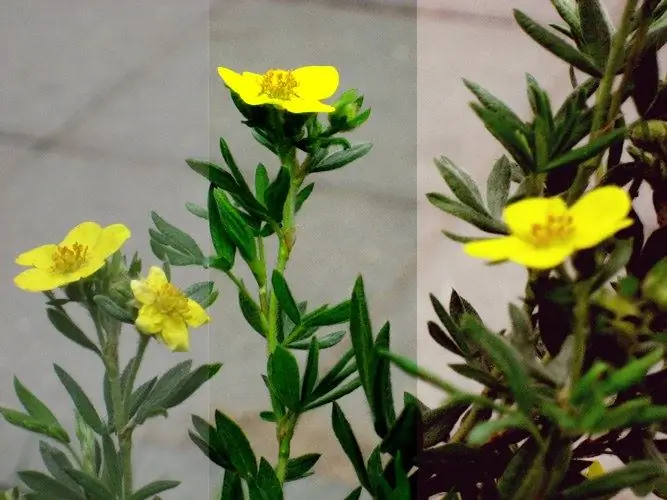
A photo taken in poor lighting conditions with automatic settings may appear dull compared to the bright colors you observe when shooting. Of course, you can go back, adjust the color balance and take another photo. If this is not possible, use the color correction tools in Photoshop.

Necessary
- - Photoshop program;
- - Photo.
Instructions
Step 1
Load the processed image into a graphics editor and create a copy of the existing layer. This can be done with the Dublicate Layer option from the Layer menu. This action will make it possible to apply the filter not to the original photo, but to its copy and compare the result of the correction with the original photo.
Step 2
Color saturation in Photoshop can be increased using the Hue / Saturation filter. To work with it, open the settings window using the Hue / Saturation option from the Adjustments group of the Image menu.
Step 3
From the Edit drop-down list, select the color you want to increase the saturation: red, yellow, green, cyan, blue, or orange and change the Saturation parameter by moving the slider to the right or by entering a numeric value in the box next to the slider.
Step 4
When you change the saturation of individual colors, you may find that the changeable color is present not only in the subject that you photographed, but also in the digital noise in the shadows. Increasing the color saturation will allow this noise to appear in all its glory. To avoid this effect, close the filter window by clicking on the cross in its upper right corner, select one of the tools of the Lasso group and select the area of the image in which you need to increase the saturation of a particular color.
Step 5
If the noise of the color whose saturation you are going to increase is located in a small area of the image, select the area with the noise and invert the selection with the Inverse option from the Select menu.
Step 6
Run the Hue / Saturation filter and adjust the saturation of the selected color. After creating a selection, the filter will only be applied within the selection.
Step 7
Alternatively, you can avoid the appearance of bright color noise by increasing the saturation of individual colors by no more than ten units. This change will allow you to edit the colors without affecting the noise. Apply a filter to the image by clicking the OK button.
Step 8
Adjust the brightness and contrast of the picture with the Brightness / Contrast filter from the same Adjustments group.
Step 9
Compare the effect of the color change with the original photo by increasing the opacity of the edited layer. This can be done by moving the Opacity slider to the left in the layers palette. If it turns out that the colors in the modified image are too bright, adjust the transparency of the layer to which the filters were applied to obtain the optimal combination of the original and the edited image.
Step 10
Save the photo using the Save As option from the File menu in.jpg"


