Emoticons in Internet communication perform the same role as intonation in oral speech: they convey agreement, distrust, joy, irony … You can create your own animated emoticons using the free programs Paint.net and UnFREEz.

Instructions
Step 1
Animation consists of several.
Step 2
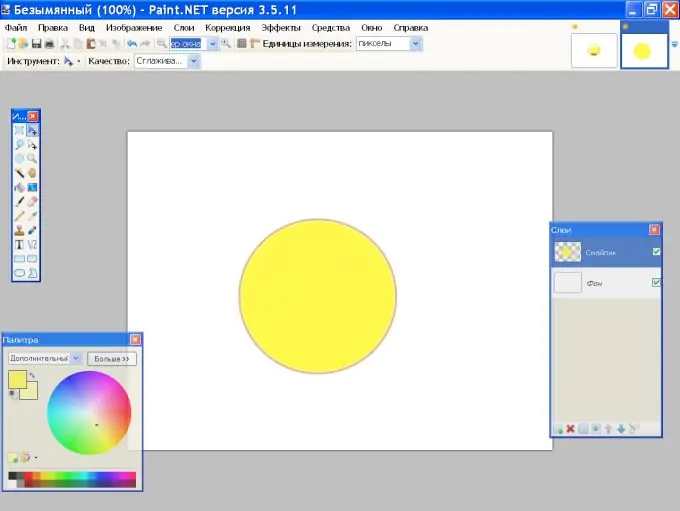
On the palette, set the foreground color to brown, on the toolbar, click the "Oval" icon, set the width to 2 pixels and draw a circle. Make the foreground color yellow and fill the circle with the Paint Bucket Tool. Double click on the layer thumbnail in the Layers panel and enter "Smiley" in the "Name" field.
Step 3
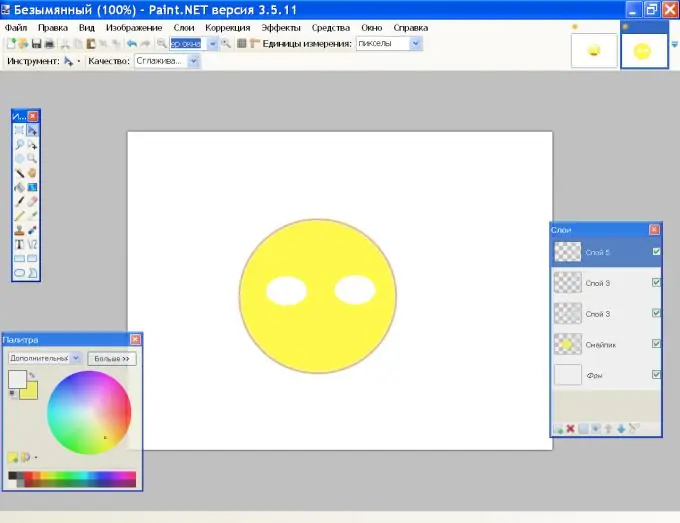
Create a new layer for the smiley eyes. Using the Oval Select Area Tool, draw an eye of a suitable shape and fill it with white with the Paint Bucket Tool. Make a copy of the layer using CTrl + Shift + D and the Move Selection Tool, drag the second eye to the desired location.
Step 4
Create a new layer for the iris. Select the oval area inside the eye and fill it with light blue. Duplicate the layer and move the second blue oval inside the second eye. Use the Ctrl + D keys to deselect and merge the 4 layers into one with the Ctrl + M key combination. Name the layer "Eyes".
Step 5
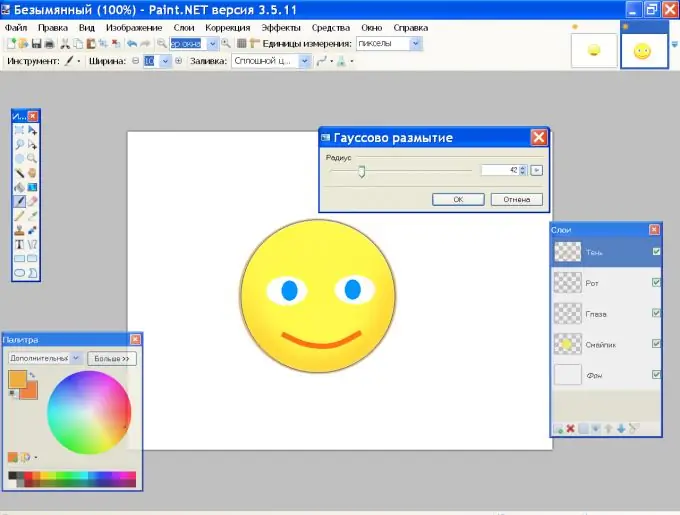
Add another layer for the mouth. Set the foreground color to dark brown and draw a line with the Line or Curve tool. Use the mouse to alternate between the markers and drag them down and to the side to give the mouth the desired shape. Press Enter when you are satisfied with the form.
Step 6
Now we need to add some volume to the emoticon. Create a new layer and press S on your keyboard. Trace the smiley face to create a circular selection. If the selection does not match the shape of the emoticon, click the Move Selection Tool and drag the handles in the desired direction with the mouse. When the selection completely covers the smiley face, click "Brush" in the toolbar.
Step 7
Draw a brown stripe along the emoticon's circumference in the lower half. The selection will prevent the brush from sliding into the background. In the Effects menu, in the Blur group, choose Gaussian Blur and set a suitable diameter based on the color and width of the line you drew. Deselect the selection with Ctrl + D. Name the layer "Shadow".
Step 8
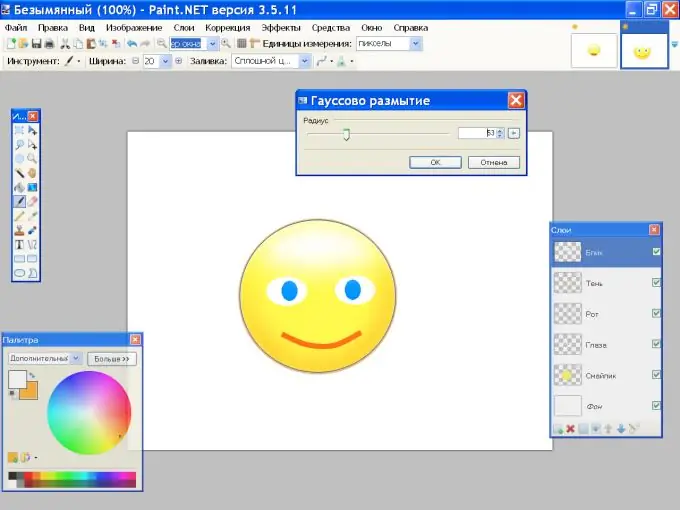
Create a new layer and again select the emoticon along the outline. Paint over his forehead with a white brush and apply a Gaussian Blur to make the forehead look lit. Name the layer "Flare". Deselect the selection.
Step 9
Duplicate the "Eyes" layer and name the layer "Eyes Tilt". Merge the Eyes, Mouth and Shadow layers. Deselect the "Eyes Tilt" layer and save this image as 1.gif. Before saving, the program will offer to merge the layers. Click Merge, and after saving the image, unmerge the merge with Ctrl + Z.
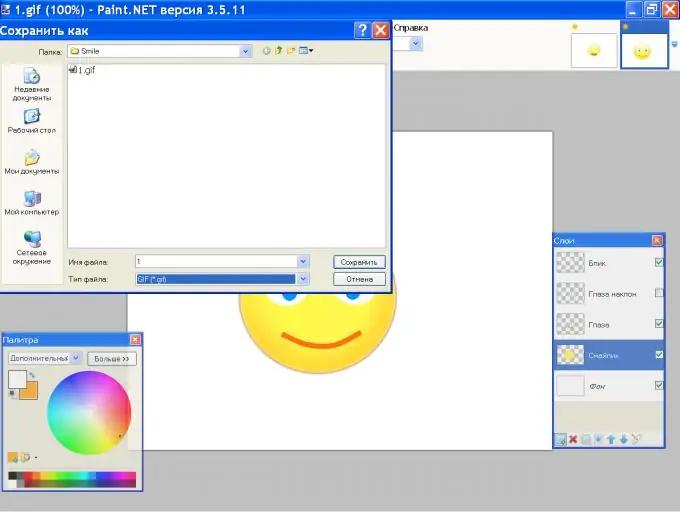
Step 10
Now we need to create a nodding emoticon. The outline of the smiley face and the highlight will remain unchanged, the eyes, mouth and shadows will shift. Remove visibility from the "Eyes" layer, make it visible and activate the "Eyes tilt" layer. Circle them with a rectangular selection, compress slightly vertically and move them down a little.
Step 11
Create a new layer and use the Line or Curve tool to draw a smiling mouth, fill it with white and move it down in relation to the mouth line created earlier. Create a layer again and paint shadows on it, as in step 7. The line should start lower than in the "Shadow" layer. Save the image as 2.gif.
Step 12
Open your gifs one by one in Paint.net and reduce their size using the Resize command from the Image menu. Save the modified files with the same names.
Step 13
Open the folder with your gifs, run the UnFREEz program and drag 1.gif"


