Using the combined tools of two free programs, Paint.net and UnRREEz, you can create animated text and other moving pictures. Using plug-ins for Paint greatly expands the capabilities of this convenient graphics editor.
Instructions
Step 1
Create a new file using the New command from the File menu or open a suitable ready-made image as a background using the Open command. In the Layers panel, click the Add New Layer icon and click the T icon in the toolbar. Select the appropriate font and size, on the palette specify the color of the text.
Step 2
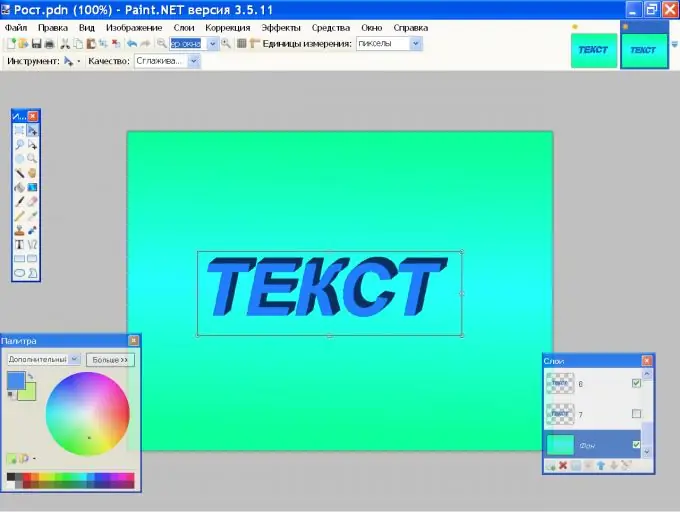
Create a copy of the text layer by clicking on the corresponding icon in the layers panel, or using the Ctrl + Shift + D keys. Turn off the visibility of the first text layer by unchecking the checkbox at its right border, and go to a copy of the layer. Press S on your keyboard and select the text with a rectangular frame. On the toolbar, select "Move Selection", hold Shift, click one of the corner move handles with the mouse and drag to the center of the layer to reduce the size of the text. Hit Enter.
Step 3
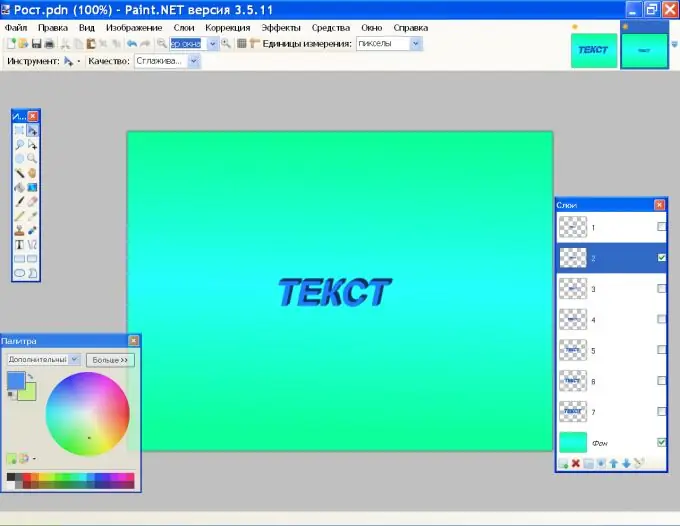
Make a copy of this layer and again reduce the size of the text. Repeat the operation several times. Each copy will become a frame of your animation. The more frames you create, the smoother the animation will be. Double click on the layer with the smallest image and name it "1". Name the next layers sequentially "2", "3", etc.
Step 4
Remove visibility from all layers except the background and 1st and save the image under the name 1.
Step 5
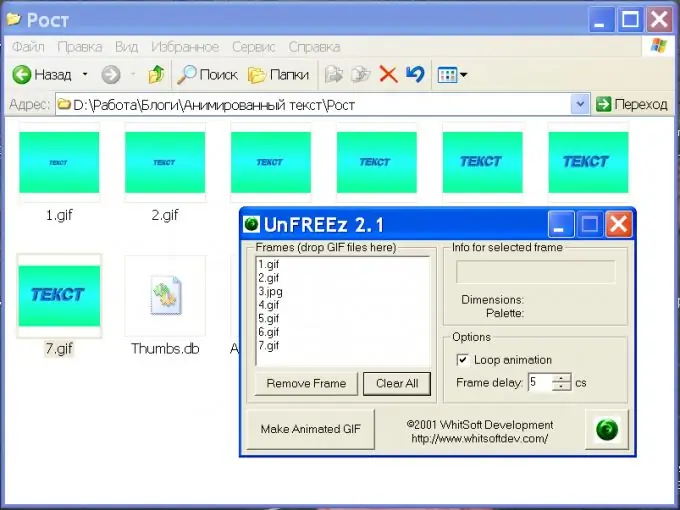
Run the UnFREEz program and drag, one by one, the frames of your animation into the Frames window from the folder where you saved them. In the Frame delay box, set the frame rate. If you want the video to spin constantly, check the Loop animation parameter. Click Make Animation.
Step 6
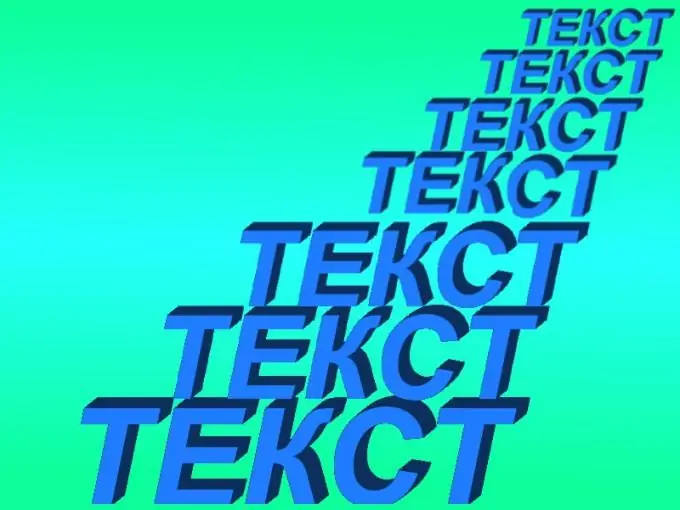
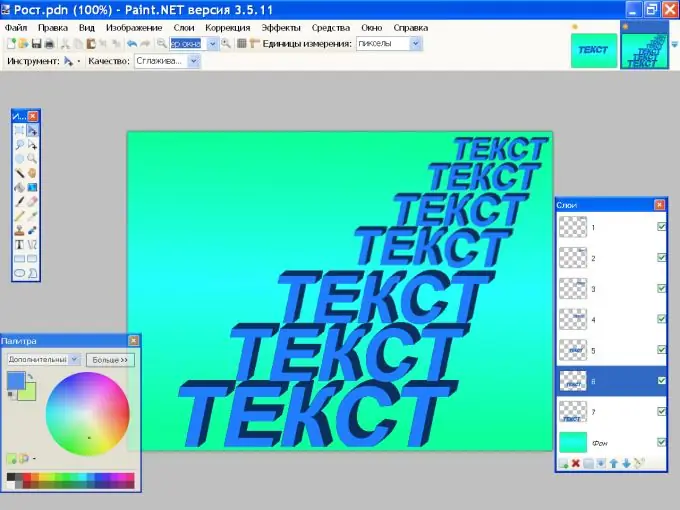
You can place all images not in the same place, but with an offset along the coordinate axes: the smallest to the top corner, the largest to the bottom diagonally. When creating an animation, a text zoom effect will appear.
Step 7
You can change not only the entire inscription, but also individual letters in it - you get the effect of "dancing" text. Make as many copies of the text layer as there are letters. Activate the first layer. Click on the Rectangle Selector toolbar and frame the letter. If you chose an italic font, you will need to rotate the selection by a certain angle. To do this, mark the "Move selection area" on the toolbar, right-click inside the selection and, without releasing it, drag the mouse. The frame will rotate. When the frame rotates to the desired angle, drag the move handles while holding down the Shift key to resize the selection.
Step 8
Check "Move selection" on the toolbar. Hold Shift and drag the handles to resize the letter. If you want to change its color, press S, set the desired shade on the palette, select the Fill tool and click the highlighted letter. On the next layer, change the size and color of another letter, etc. Turn off the visibility of the layer copies one by one and save the images in.


