The free paint.net graphics editor is a good budget alternative to the expensive Adobe Photoshop. Paint is constantly expanding as enthusiasts around the world develop free plugins for it.

Instructions
Step 1
Download a set of plugins (add-ons) pyrochild plugins from the author's page as a zip archive and place it in the C: / Program Files / Paint. NET / Effects folder. If you installed this graphics editor on a different drive, replace C with the desired letter. Right-click on the archive icon and select "Extract to current folder". If Paint.net was running, restart the program. After a new launch, new items will be added to the Effects menu.
Step 2
Fill the background layer with a suitable color using the Paint Bucket or Gradient tool. Click on the "Add New Layer" icon in the Layers panel or use the shortcut Ctl + Shift + N. On the palette, specify a color for the text. Press the T key to activate the Type tool. Select the font type and size on the property bar. Write your text.
Step 3
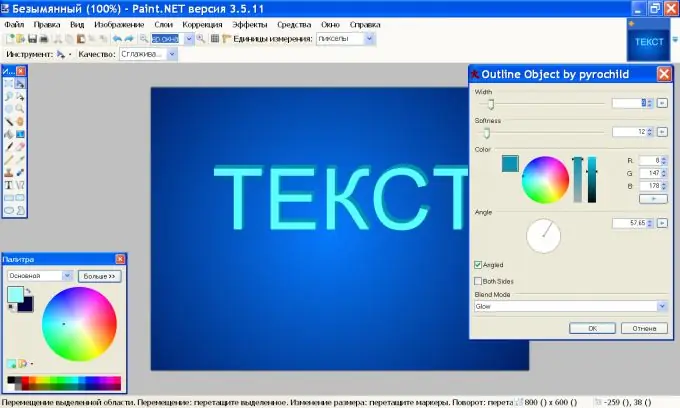
From the Effects menu go to the Object section and click Outline Object. This plugin gives a shadow to the object. Choose the shadow color, Width and Softness. Specify the angle of reflection (Angle).
Step 4
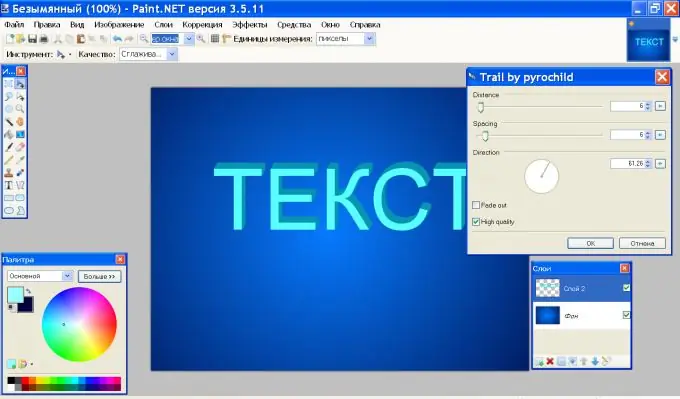
On the same Effects menu, under Object, click Trail. This plugin creates the effect of following a moving object. Set the appropriate values for its parameters to make the letters look three-dimensional, and click OK.
Step 5
There is another way to create a 3d effect. Download the BoltBait's effect plugin from the author's page and install as described in paragraph 1. Create a layer and name it "Text". Write any text, choose color, font type and size. On the toolbar, select "Magic Wand", set the selection mode to "Add (merge)" and click all the letters one by one. All the text should now be selected.
Step 6
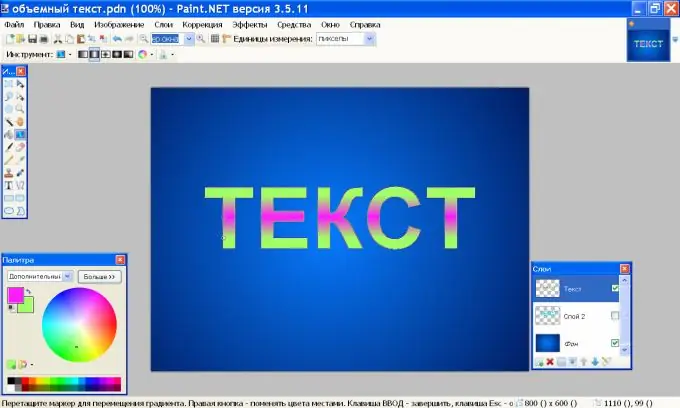
Select the Gradient tool, set foreground and background colors, and set the blending mode to Linear (Reflected). Draw a horizontal line across the center of the layer and adjust the width of the gradient. Press Esc.
Step 7
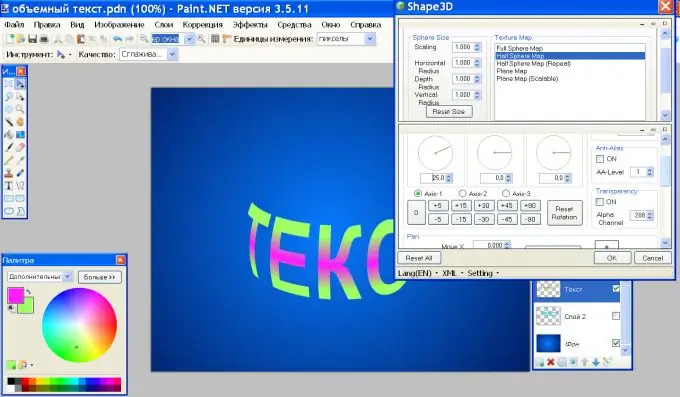
Go to the Effects menu and in the Render group click Shape 3D. In the Texture Map section, select Half Sphere Map. In the Object Rotation section, set Axis-1 = 25. In the Lighting section, uncheck the ON option. Click OK.
Step 8
In the Layers panel, click the Duplicate Layer icon and rename the old layer Shadow. The "Text" layer should be above the "Drop Shadow" layer. Activate Drop Shadow, go to the Effects menu, and in the Blur group, click Zoom in. Set the value of the parameter "Zoom ratio" to 90.
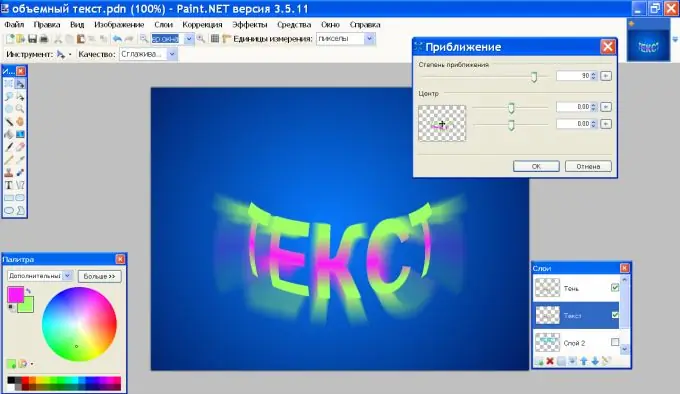
Step 9
In the "Adjustments" menu, select the Transparency command and set the value Transparent = 40. Your text will gain volume.
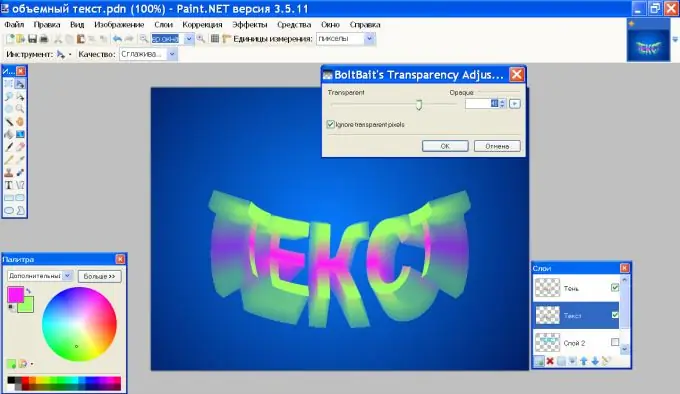
Step 10
Activate the "Text" layer (top) and click the "Rectangular Region Selector" tool. Select the text with a frame and press the M key. Use the mouse to drag the handles and stretch the letters so that they completely coincide in size with the front part of the text on the "Shadow" layer.
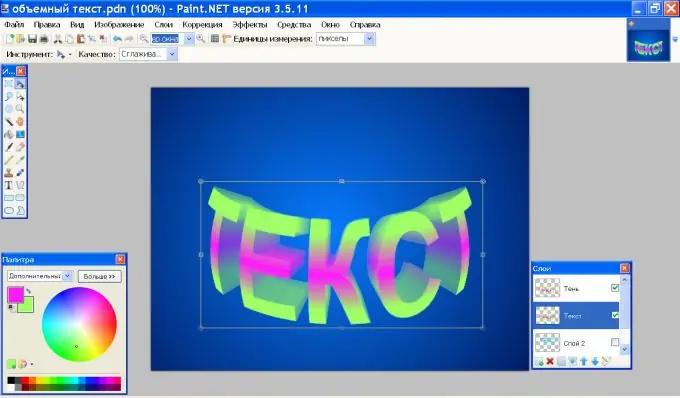
Step 11
On the Effects menu, in the Object group, click Outline object to add an outline to the letters. Choose an outline color and line size. Click OK.


