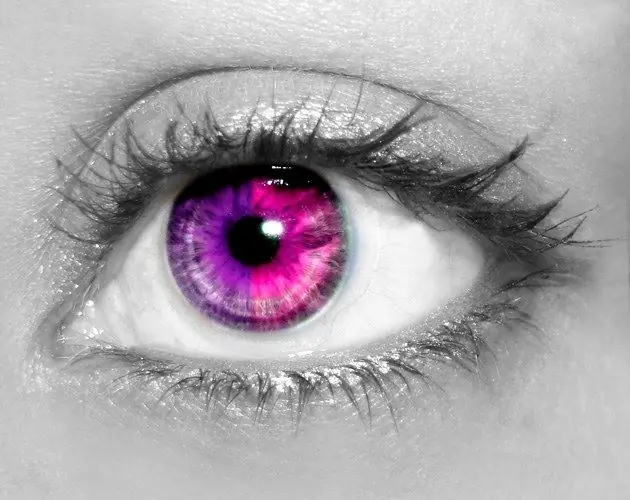
You can recolor the eyes in the picture using a layer overlay with a color or an adjustment filter. In order not to change the colors in the entire photo, it is worth limiting the scope of the effect to the mask.

Necessary
- - Photoshop program;
- - Photo.
Instructions
Step 1
Open the photo you are going to experiment with in Photoshop using the Open option on the File menu. Set the foreground color for the eyes by clicking on the top of the two swatches at the bottom of the toolbox.
Step 2
Turn on the Pen Tool in Shape Layers mode and use it to create a shape that completely covers the iris of the eye. Blend the shape layer onto the photo in Color or Overlay mode. Recolor the second eye in the same way. You can easily change the color of the shape by double-clicking on the layer thumbnail.
Step 3
To change the color of the eyes, you can use an adjustment layer. Select both eyes using the Lasso Tool in Add to selection mode. Use the Hue / Saturation option in the New Adjustment Layer group of the Layer menu to add a filter layer over the photo. Change the color of both eyes by moving the Hue parameter slider in the filter settings towards the side. The correction will be applied only to the area of the image limited by the selection.
Step 4
An interesting effect can be obtained by recoloring part of the iris. To do this, add a transparent layer over the image using the Layer option in the New group of the Layer menu. Choose Color as the blending mode of the created layer.
Step 5
With the Brush Tool enabled, paint over the area around the pupil. Smudge the edges of the colored spot away from the center of the eye, using the Smudge Tool with the Strength parameter in the range of eighty percent.
Step 6
As you apply adjustment layers with different settings to the image, make sure that the highlights in the eyes that were present in the original image are not darkened. If this happens, merge the visible part of the image into one layer using the Ctrl + Alt + Shift + E keys, turn on the Dodge Tool and lighten the highlights.
Step 7
To save a file with all layers use the Save As option of the File menu and select the psd format. Save a single-layer image with the same option to a.jpg"


