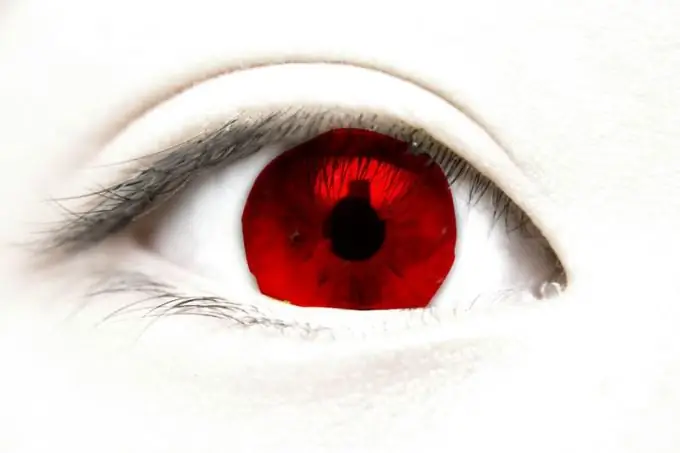
It happens that you take a closer look at a person and notice that some kind of devilry is going on with him: he confuses toothbrushes, walks around in other people's slippers and, worst of all, forgets to wash the dishes. It is necessary to immediately remind him of the virtues and return to the camp of the good guys. A creative rethinking of one of his photographs, depicting him in the image of Lucifer, comes in handy.

Instructions
Step 1
Launch Adobe Photoshop CS5 (the author uses the Russian version) and open the required file in it: "File"> "Open"> select the picture in the browser> "Open". The eyes are an element that takes up little space on the human face, so for more convenience in working with them it is better to zoom in. To do this, select "Scale" in the toolbar (the magnifying glass icon) or press the Z hotkey.
Step 2
Point the cursor at the eye and press the left mouse button several times to zoom in on the image. A more convenient way is to press and hold the left button, and then move the mouse to the right side to zoom in and the left to zoom out. The optimal magnification is the eye that occupies the entire working area of the program.
Step 3
Select the Brush tool (hotkey B) or another Pencil variation. Adjust the size of the tool: on the "Options" panel (it is located under the main menu), click the enable button of the brushes panel, find the "Size" slider there and move it so that the brush size becomes 4-5 pixels. The size box is active, so you can enter it without using the slider, i.e. manually through the keyboard. If you chose the Brush tool, pick a more comfortable shape for painting the eye. It is best if it is just round.
Step 4
Choose the color you want: at the bottom of the toolbar, find two squares located one after the other. Click on the left and in the window that opens, select the red color and click "OK".
Step 5
Move the cursor over the eye and start painting over its central part, while not touching the edges. Then choose a brush or pencil size 1 or 2 and gently trace around the edges. Ready. Of course, this is in the event that your idea involves a perfectly shaded eye. Feel free to experiment. Try to paint over it casually and see what happens. Then try a different shape and size of the brush and look again, etc. To save the picture, click "File"> "Save As"> specify the name, type and location of the future file> "Save".


