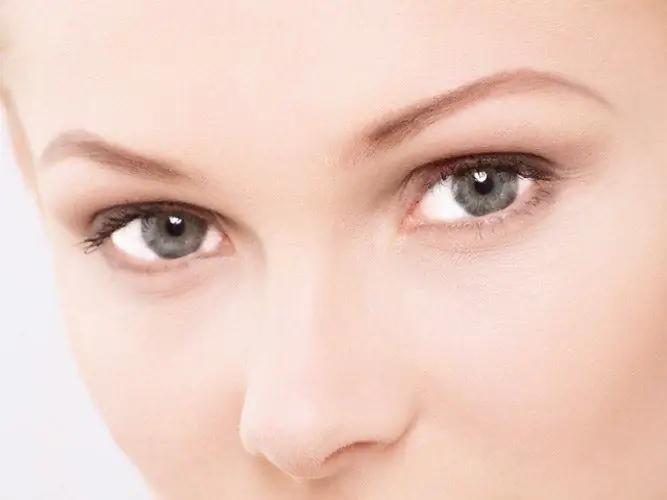
The most common ways to treat the eye area in a photo are lightening and using retouching tools. To give your eyes extra expressiveness, you can create an imitation of makeup using the editor Photoshop.

Necessary
- - Photoshop program;
- - Photo.
Instructions
Step 1
Press Ctrl + O to load the image to be processed into Photoshop and zoom in on the eye area by moving the slider in the lower panel of the Navigator panel to the right.
Step 2
If blood vessels stand out against the background of proteins, mask them with retouching tools. The Clone Stamp is perfect for this task. Using the Shift + Ctrl + N combination, paste a layer on top of the photo, on which the adjustment fragments will lie.
Step 3
With the Sample all layers option enabled in the Clone Stamp settings, Alt-click on the lighter part of the squirrel. Clicking on the fragment of the picture that needs to be masked, paste the copied pixels onto the created layer.
Step 4
Lighten the retouched image. To do this, use the Alt + Ctrl + Shift + E combination to create a layer with all the visible details of the modified photo and put it on the other layers in the Screen mode ("Lightening"). As a result, the entire image will be brightened.
Step 5
To limit the scope of this effect, add a mask that hides the contents of the top layer using the Hide All option in the Layer Mask group of the Layer menu. Use the Brush tool ("Brush") to paint white the mask fragments in the areas that should remain lightened.
Step 6
In a similar way, you can increase the brightness of the iris. To get this effect, create another combined layer and change its blending mode to Overlay ("Overlap"). Use a layer mask to leave only the iris visible.
Step 7
You can tint the eyelashes in the picture. To do this, turn on the Freeform Pen tool ("Freeform Pen") in the Paths mode ("Paths") and duplicate the eyelashes with curved lines. Adjust the brush with which you will make the stroke. To do this, set the diameter of the tool in the range of one to three pixels and make the base color, in which the eyelashes will be painted. Insert a separate layer for the stroke into the document.
Step 8
Click on the created path in the Paths palette and select Stroke Path from the menu that appears. Make sure the Brush tool is active in the options dialog box. By checking the Simulate pressure checkbox, you will sharpen the ends of your eyelashes.
Step 9
Using the combination Ctrl + Shift + S, save the photo with all the correction elements to a psd file. Select.jpg"


