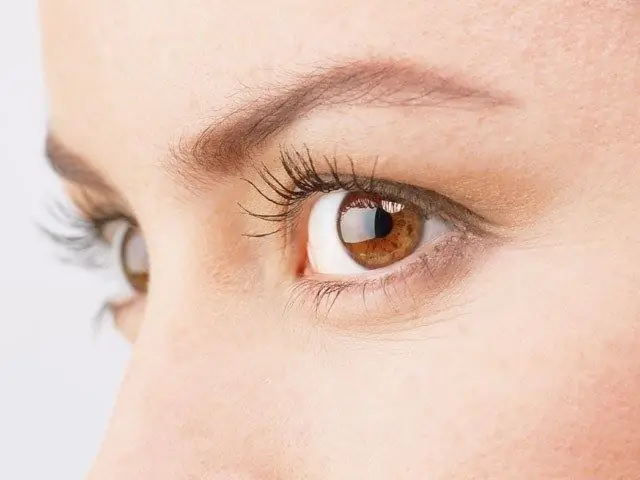
Increasing the brightness of the eyes in the picture allows you to add additional expressiveness to the processed picture. In Photoshop, this task can be solved using the retouching tools and changing the layer blend mode.

Necessary
- - Photoshop program;
- - Photo.
Instructions
Step 1
Load the image to be processed in Photoshop using the Open option of the File menu. When retouching the eye area, it makes more sense to open the image at full size. To do this, enter a value equal to one hundred percent in the field of the Navigator palette.
Step 2
If the photo is taken close-up and you can see blood vessels that stand out against the background of the whites of the eyes, remove them using the Clone Stamp. To do this, use the Layer option, which is in the New group of the Layer menu, insert a transparent layer into the document. Make active the Clone Stamp tool and turn on the Sample all layers option in its settings panel, which will copy pixels from any visible layer of the photo.
Step 3
Pressing the Alt key, click on the light area of the eye in the image. After releasing Alt, close the blood vessels with the copied pixels. Adjust the opacity of the retouching layer so that the whites of the eyes look realistic. To do this, lower the value of the Opacity parameter for the layer on which the results of applying the Clone Stamp are located.
Step 4
Use the shortcut Ctrl + Alt + Shift + E to create a layer in the document containing a copy of all visible image details. Select one of the blending modes for this layer in the range from Screen to Overlay. You can experiment with the modes between Soft Light and Pin Light, but with such a blend you run the risk of dramatically changing the color of the iris.
Step 5
By changing the blend mode, you changed the colors throughout the image. To limit the area of effect, add a mask to the top layer using the Hide All option in the Layer Mask group of the Layer menu. Set the foreground color to white and paint over the eye area with the Brush Tool. If necessary, you can reduce the color change in the eye by treating the mask over the iris with black. To prevent the effect from disappearing completely, set the Opacity parameter in the brush settings to about thirty percent.
Step 6
Using the Save As option of the File menu, save the processed photo to a.jpg"


