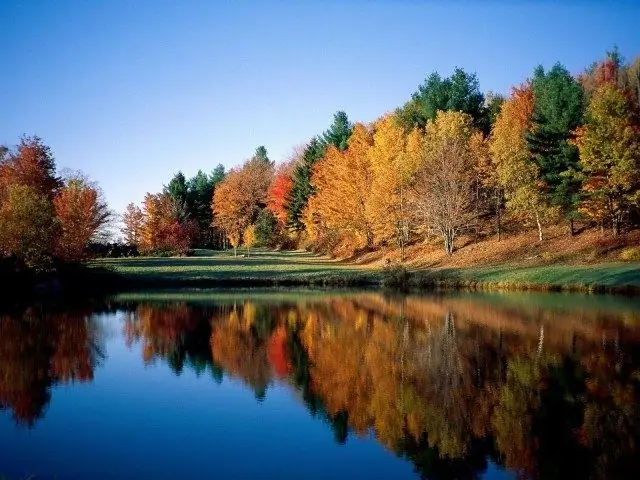
Sometimes it becomes necessary to create an imitation of a reflective surface in the picture - water surface, ice, shiny plastic, etc. This task is within your powers, if you have at least a little knowledge of the AdobePhotoshop program.

Necessary
This instruction will require you to have some prior knowledge of the Photoshop program, namely the ability to work with layers and transparency masks. But the achieved result is worth tinkering with a little
Instructions
Step 1
Load the picture and perform the preparatory procedure: turn the Background layer into a working layer, for this select in the menu Layer> New> Layer from Background. Make another copy of this layer, Layer> New> Layer via Copy. We got it for the working layer - the bottom one will be a reflection.
If we are dealing with the natural course of things, the reflection is usually inverted vertically. We do this by selecting the bottom layer in the list of layers and applying the menu command Edit> Transform> Flip Vertical to it. (Of course, if we simulate reflection in a vertical mirror, then we need to flip the image horizontally Edit> Transform> Flip Horizontal)
While the reflection is not visible in any way.
Step 2
We outline the place where our future mirror surface will be - it can be water surface, ice, shiny plastic, high-tech metal, etc. The principle of reflection will always be the same, the parameters by which the viewer's eye will “recognize” the material will differ:
- the own color of the reflective material
- reflection depth
- clarity
- deformation of reflected lines
Select the top layer and make a "hole" in it - select the area where the reflection will be with the Lasso tool. Then press the Delete key. If we did everything right, then the bottom layer became visible through the hole. By shifting both layers vertically, we find the most natural position of the reflection and the original relative to each other.
Step 3
But there are no perfect reflective surfaces, so you need to give the reflection truthfulness.
Temporarily turn off the layer with reflection and under it - the lowest in the list of layers - create a new layer Layer> New Fill Layer> Gradient, which will give the color of the reflective surface. Water usually changes color from gray-green to dark blue, high-tech surfaces have shades of gray, ice - from light blue to light gray, etc.
After building the gradient and achieving its natural color relationship with the original layer, adjust the reflection depth. To do this, turn on the inverted layer with reflection and set the Opacity parameter to its transparency.
Step 4
Sometimes, to create depth of perspective, a reflection "disappearing into the distance" looks impressive: the geometrically closer the reflection to the original, the thicker it is, the further away it becomes more transparent. To do this, you can use an individual layer mask, setting the transparency applied to this mask with a black and white gradient.
Now you can add more naturalness by playing along with the diffusion and distortion of the linearity of the reflection. To achieve this, you can, for example, apply a blur to the reflection layer Filter> Blur> Motion Blur
Step 5
If we imitate the water surface, then we cannot do without ripples in the water. The best results can be achieved with Filter> Distort> Wave. Note that the waves in the foreground are always more noticeable and larger than those of the horizon, so they can be simulated by copying the layer with the reflection a second time, giving it a different transparency mask, closer - more visible, farther - more transparent.
Step 6
Observe carefully how objects are reflected in the real world. Feel free to use your observations, experimenting with the parameters of transparency, color, diffusion coefficients in Photoshop and the result will only be surprising.


