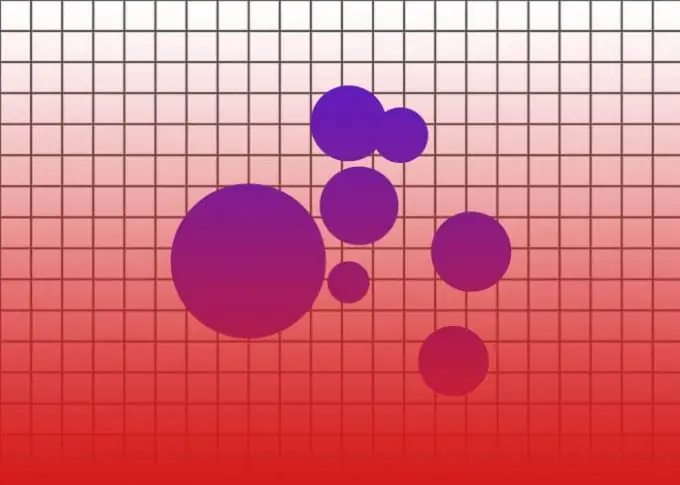
A mask in Adobe Photoshop is used to hide any effect or graphics. Professionals use this tool, among other things, so that at any time they can return to one or another stage of work without starting it over again. However, even without being a professional, it is worth learning this simple science. At least to broaden your horizons.

Necessary
Adobe Photoshop
Instructions
Step 1
Create a new document in Adobe Photoshop: click the menu item "File" -> "New" or use the hotkeys Ctrl + N. In the new window specify arbitrary "Width" and "Height" (Height), set "Background contents" to "Transparent" and click "New".
Step 2
First, create a background: click the menu item "Layers" (Layers) -> "New layer-fill" (New fill layer) -> "Pattern" (Pattern). In the window that appears, immediately click "OK". In the next, select the texture you like the most (the author used a checkered notebook sheet), play with the "Scale" setting and click OK. Thus, you have created a background in the form of a mask.
Step 3
Select the Ellipse Tool (hotkey U, toggle between adjacent elements - Shift + U), and in the tool options bar select "Paths". Create a series of ellipses similar to the one in the title picture for this article.
Step 4
Open the Layers window and switch to the Paths tab. If not, click Window -> Paths. At the moment, there is one path that includes several ellipses you have drawn. If you look closely, they are shown in miniature on the outline icon. Actually, these ellipses are the vector mask. Click the menu item "Layers" -> "New layer-fill" -> "Color" (Solid Color). In the window that appears, immediately click OK, and in the next one select the color 511cd5 and also click OK. The ellipses will turn blue.
Step 5
Create another mask: click on the "Create new path" button on the "Paths" tab. Select the Rectangle Tool (U, Shift + U) and close the entire canvas with it. This is also a vector mask. Click the menu item "Layers" -> "New layer-fill" -> "Gradient" (Gradient). In the new window, immediately click OK, and in the next one create a gradient that goes from red to transparent, with an angle of 90 degrees. Click OK. As a result, you should get something like the title picture.


