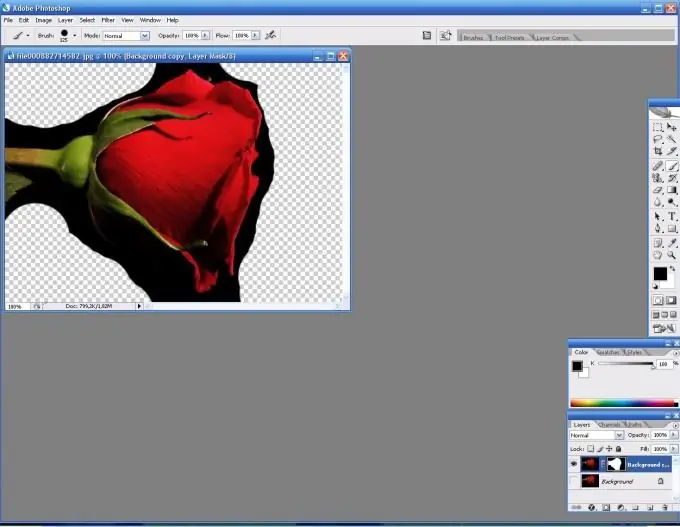
If you are doing photo manipulation in Photoshop, it is very useful for you to know how to use masks. Most often, masks are used to highlight a part of an image, to separate it from the background, or to remove the background itself.

Necessary
Computer, Adobe Photoshop program
Instructions
Step 1
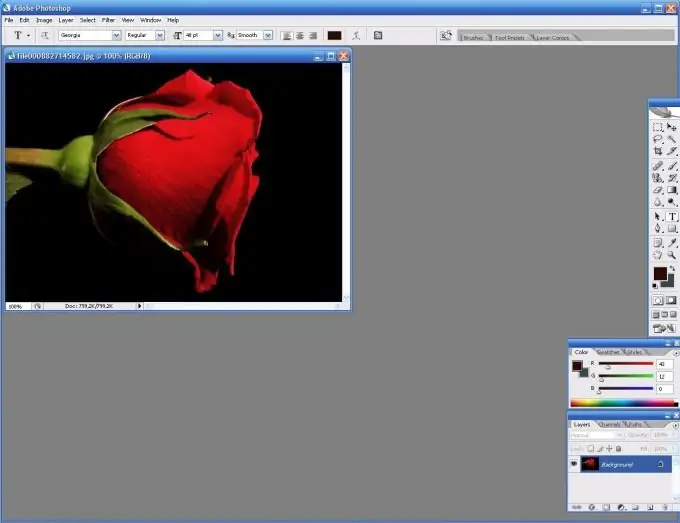
Open the image you are going to process.

Step 2
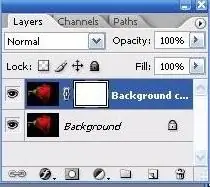
Pay attention to the Layers panel. At the bottom, you will see a row of symbols. Click on the rectangle with a circle in the middle. This will create a layer mask.

Step 3
Now, on the toolbar, enter mask editing mode. It is designated the same as in the layers panel, but there are two rectangles. By alternately clicking on each of them, you can enter and exit mask mode.
Step 4
Next, select the Brush Tool (brush). While in mask mode, you can simply paint with a brush over the image, removing or adding parts of the image. To do this, use the default black and white colors.


